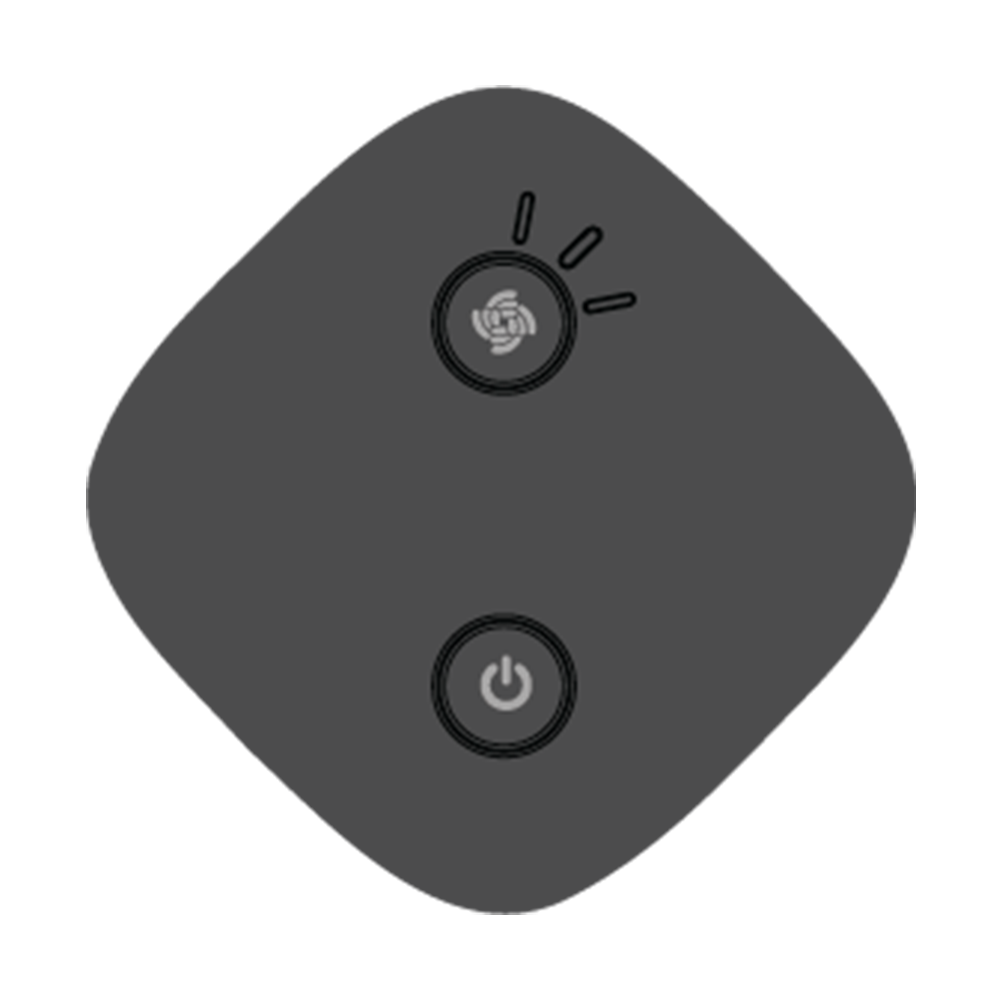
RAK2171 WisNode TrackIt
Overview
RAK2171 WisNode TrackIt is a LoRaWAN GPS tracking device. It comes in a small form factor with a rechargeable battery and tracking and configuration application. Its application is available for iOS and Android devices.
RAK2171 supports multiple working modes and notification options. When used with RAK WisGate Edge Gateways and P2P mode, you can monitor your tracker on the application map, create geofences, and receive SOS and movement notifications. You can also configure the WisNode TrackIt to work with any third-party LoRaWAN network using the TrackIt application as a configuration tool.
Product Features
- MT2523 with built-in Bluetooth and GPS
- SX1262 LoRa chip
- Built-in accelerometer
- Built-in battery: 400 mAh
- Charger with a magnetic plate
- Small size: 42x42x18 mm
- Low weight: 25 g
- Operating temperature: -20 °C to +60 °C
- IP65 rating
- Android and iOS application for easy management, configuration, and location tracking
Useful Resources
WisNode TrackIt Helium Integration
tip
Before going through each and every step in connecting RAK2171 to Helium, it is recommended to check first the Quick Start Guide.
This guide shows how to register the TrackIt device in the Helium console and make integration to Datacake, where you can use the dashboard to view the data in a more user-friendly way.
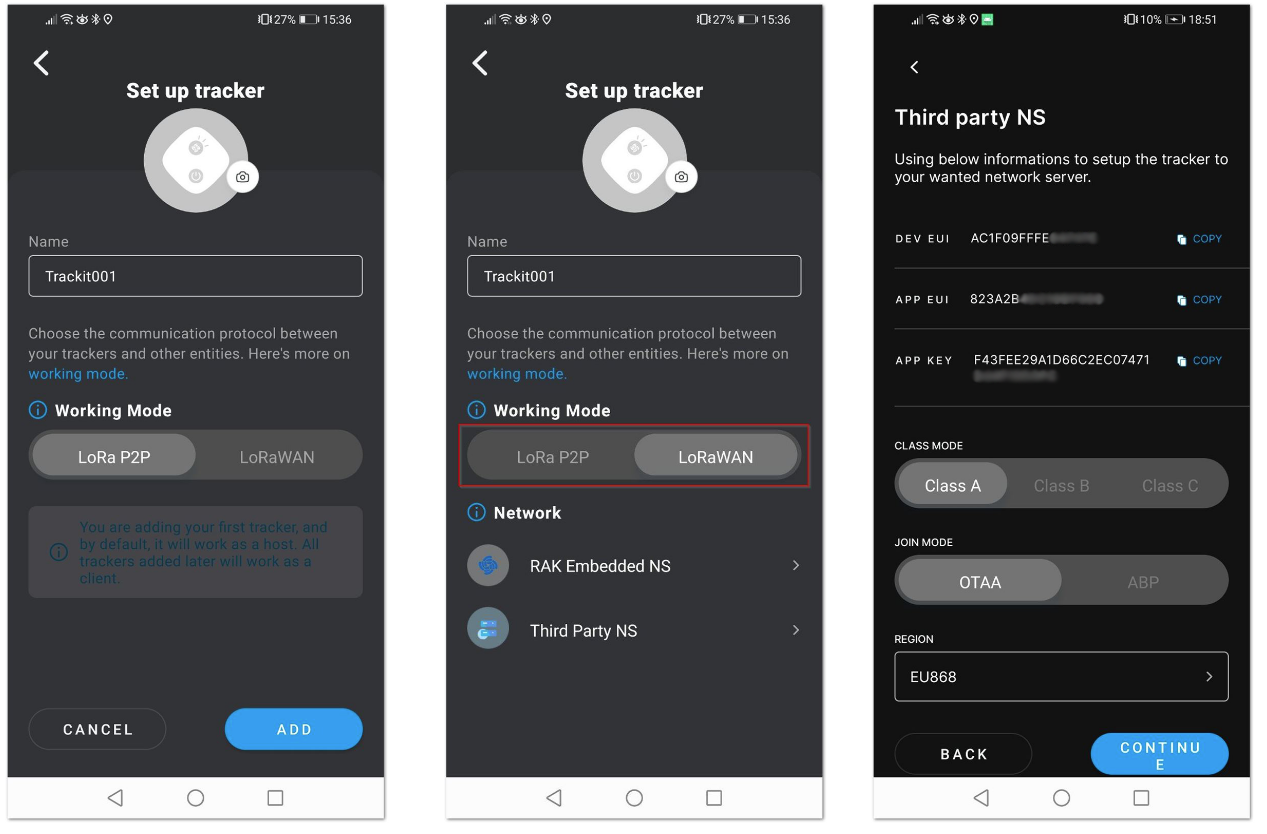
Before you dive into registering the device in the Helium console and creating the Datacake integration, you need to set the device to work in Third-Party LoRaWAN Network Server (LNS) Mode.
Register the TrackIt Node in the Helium Console
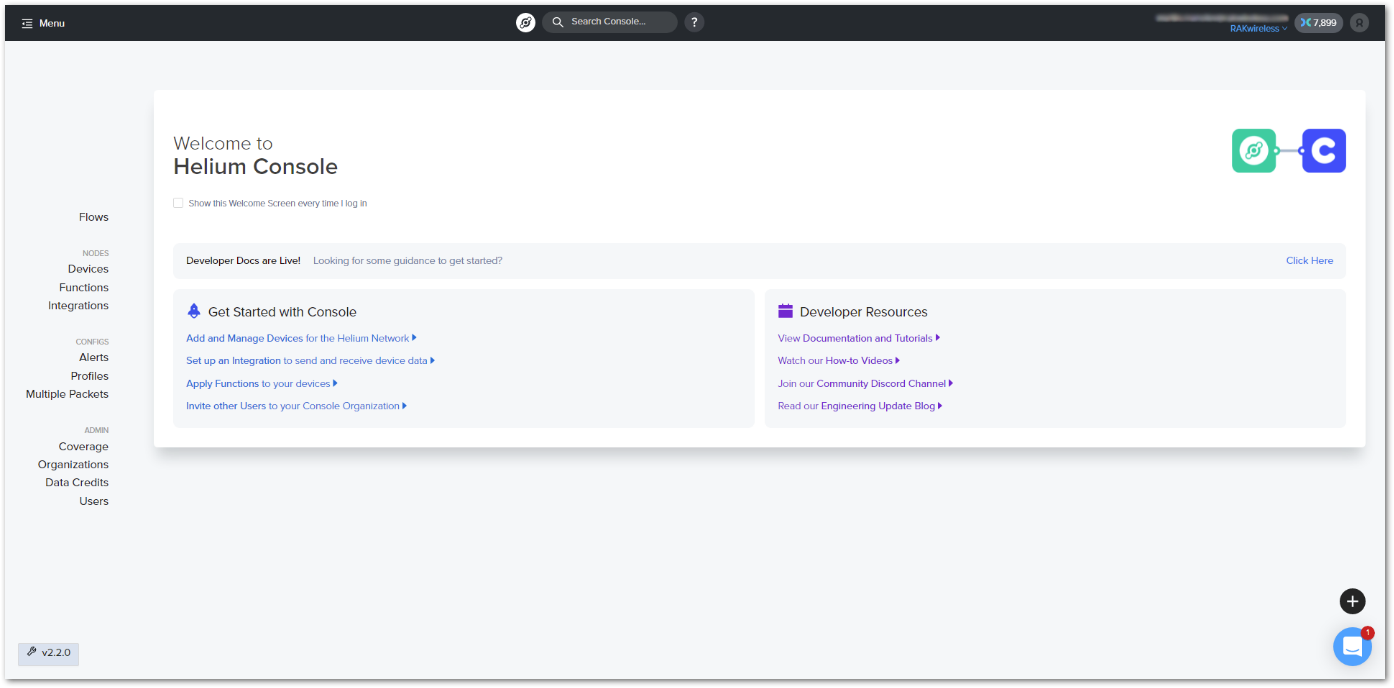
- Login to your Helium console account. If you do not have one, head to the web page and create one. Once you are logged in, you will see the Welcome window.
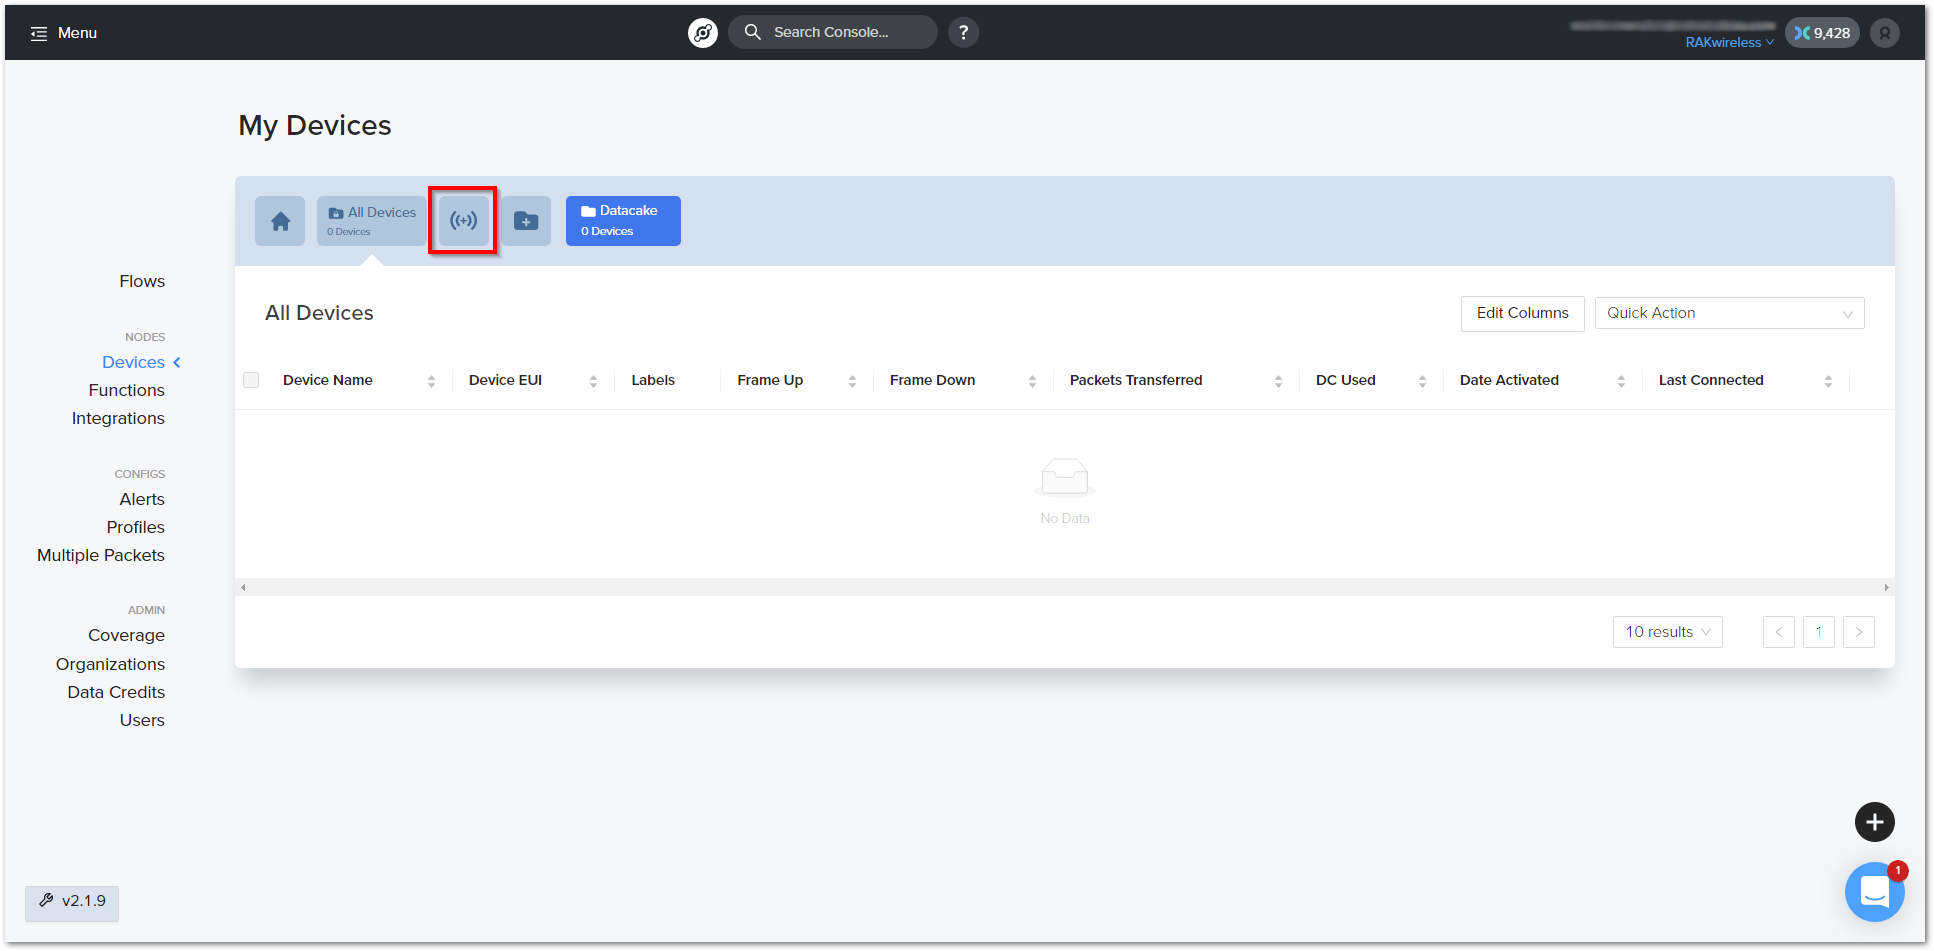
- In the menu on the left side of the console, select Devices and click the Add new device button to register your device.
- In the Name field, type the preferred name of your device.
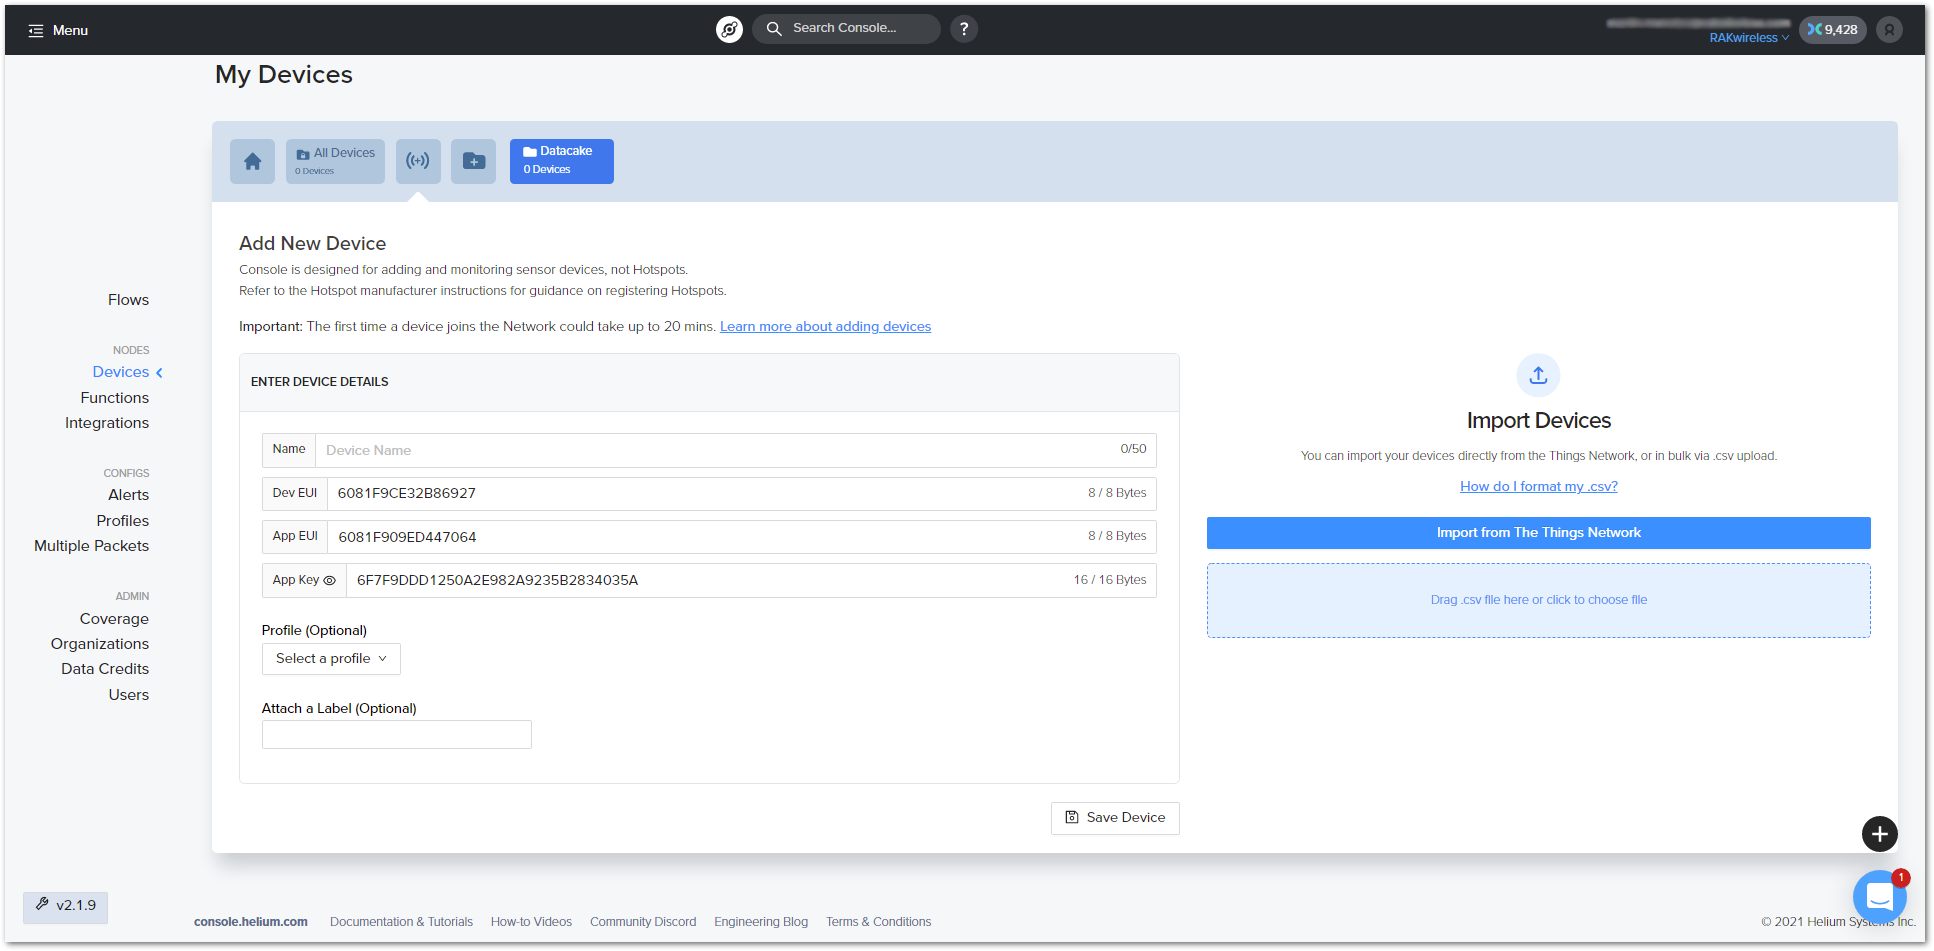
- You can see that the Helium console generates random Dev EUI, App EUI, and App Key. Since the TrackIt keys cannot be changed, you need to type your keys in the fields. These keys are found in the TrackIt application in the LoRaWAN Working Mode (Third Party NS).
Optionally, you can select a Profile and Attach a Label. For this tutorial, they will be skipped. Note that Profiles and Labels can be added after the device is registered.
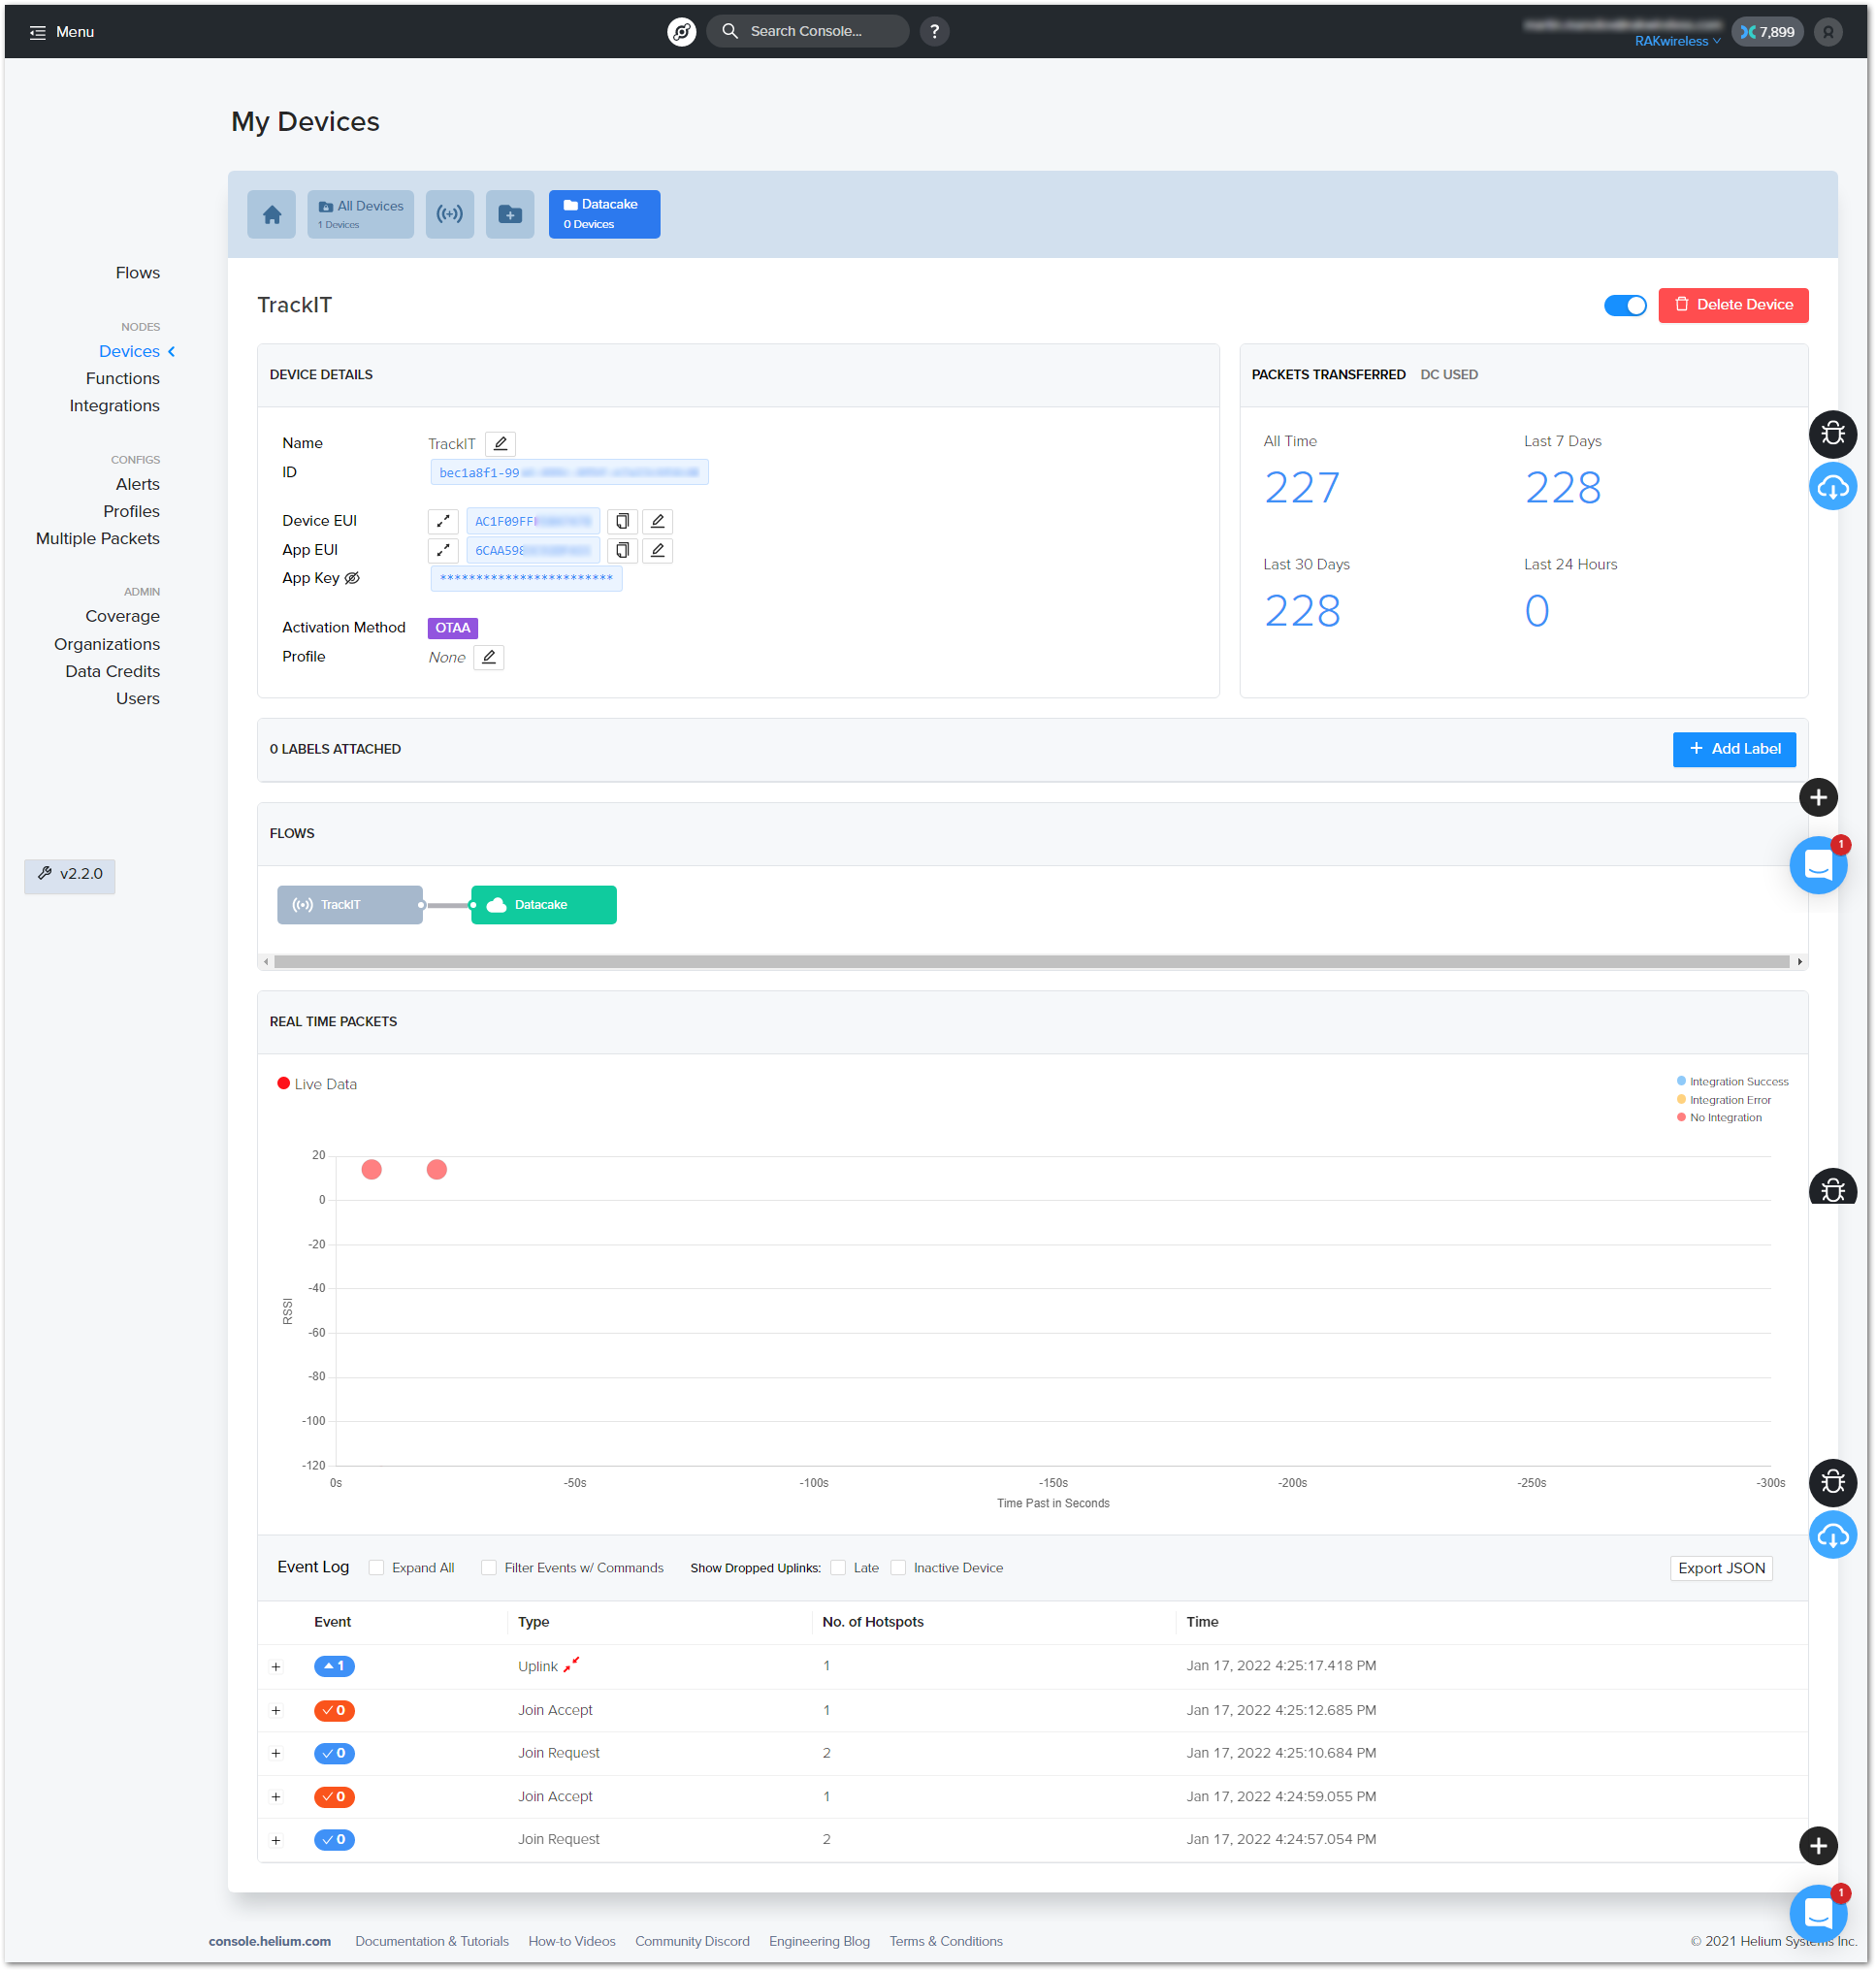
After typing in the required keys, click Save Device, and you will see the registered device. As mentioned by the console, the initial join process takes about 20 minutes for the device to join, so be patient.
Create Datacake Integration
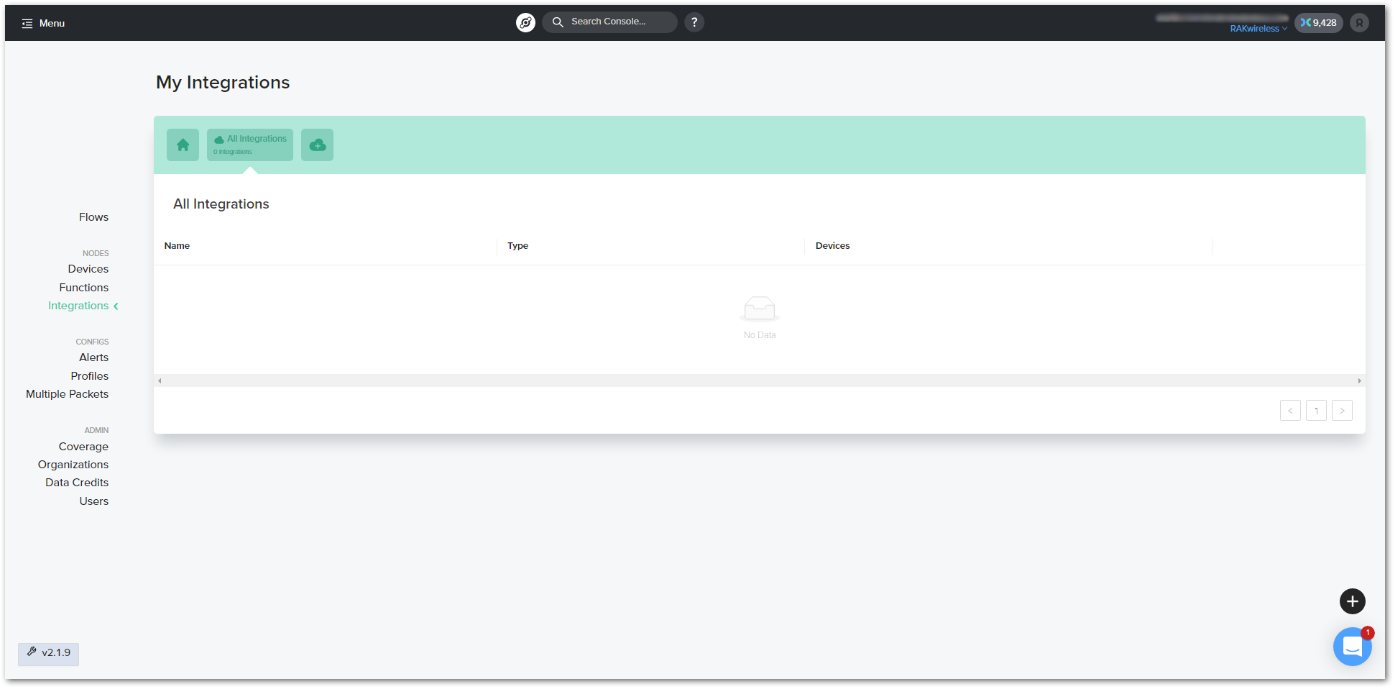
- While the device is joining, you can create the integration. Select Integrations from the menu in the left panel.
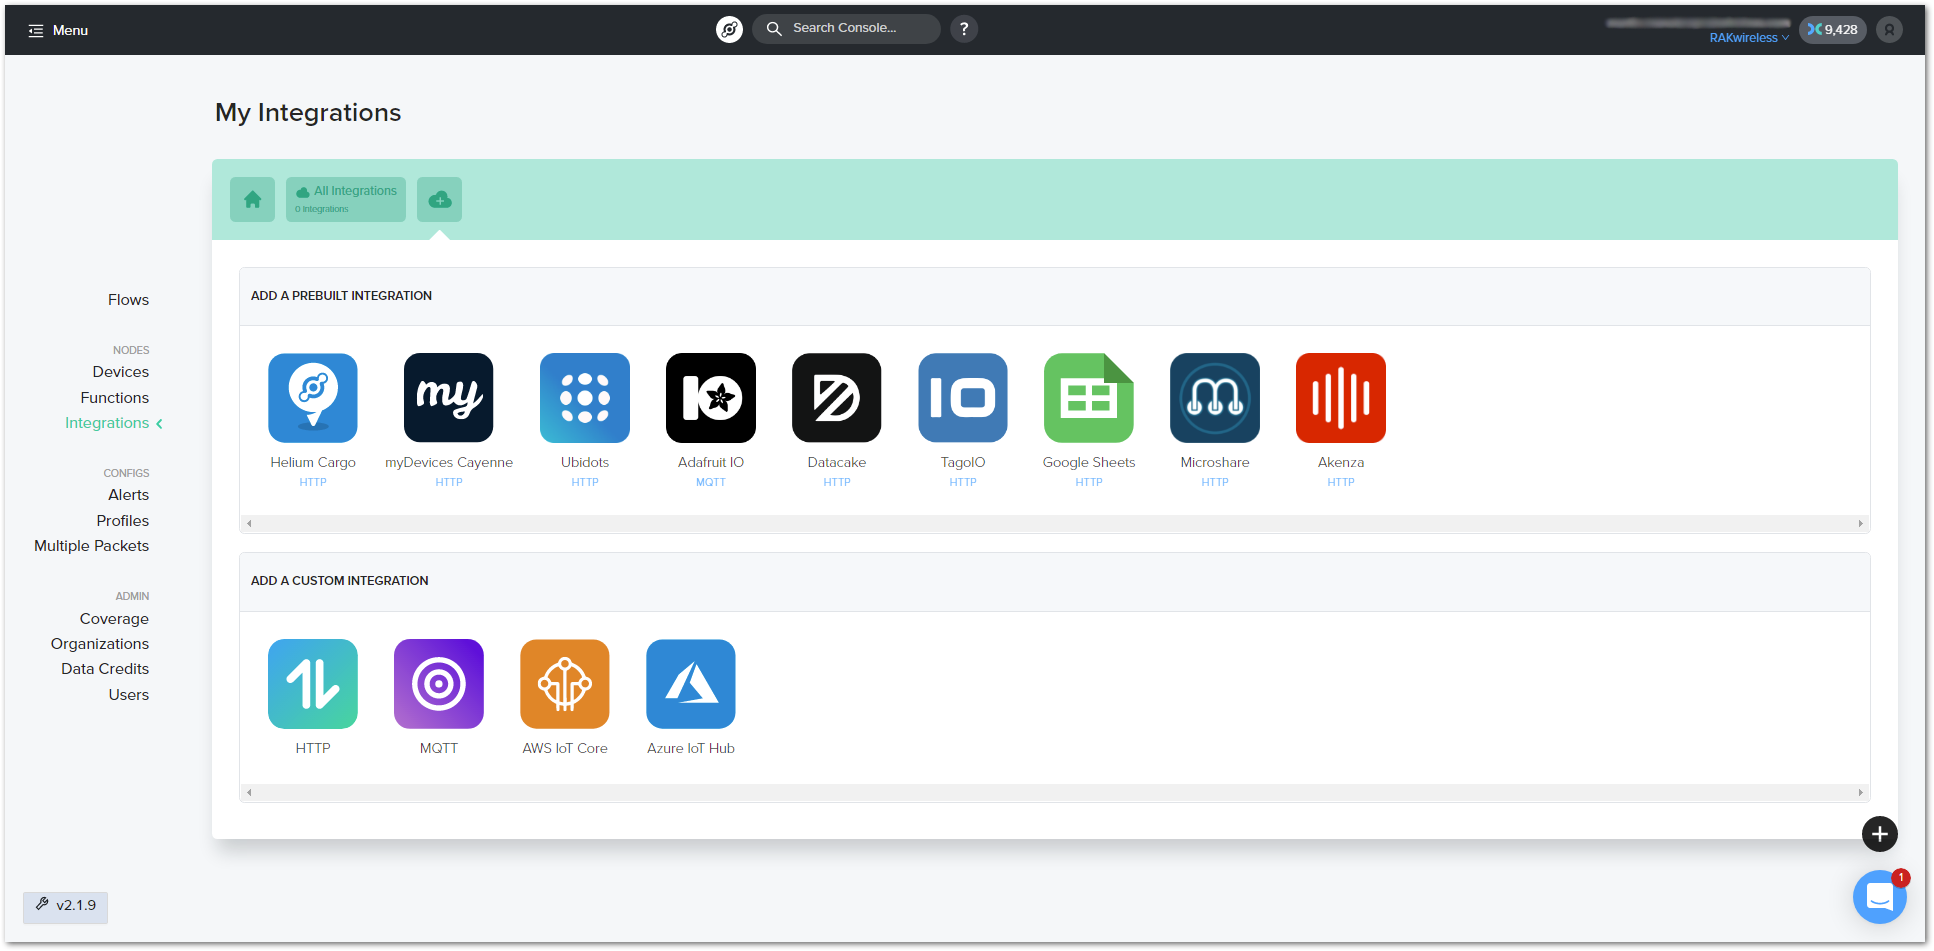
- To create an integration, click on the Add New Integration button. A list of the available integrations will appear. As for this guide, click Datacake. For further information, refer to the Integrations documentation.
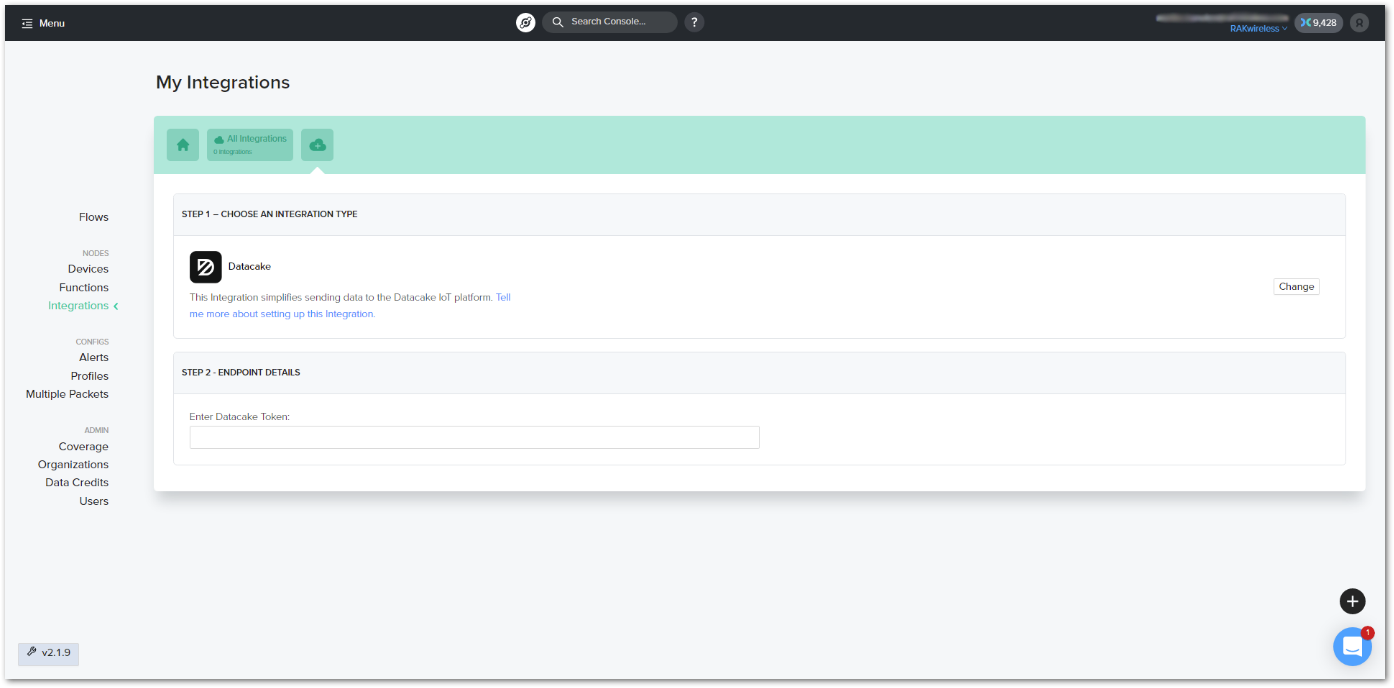
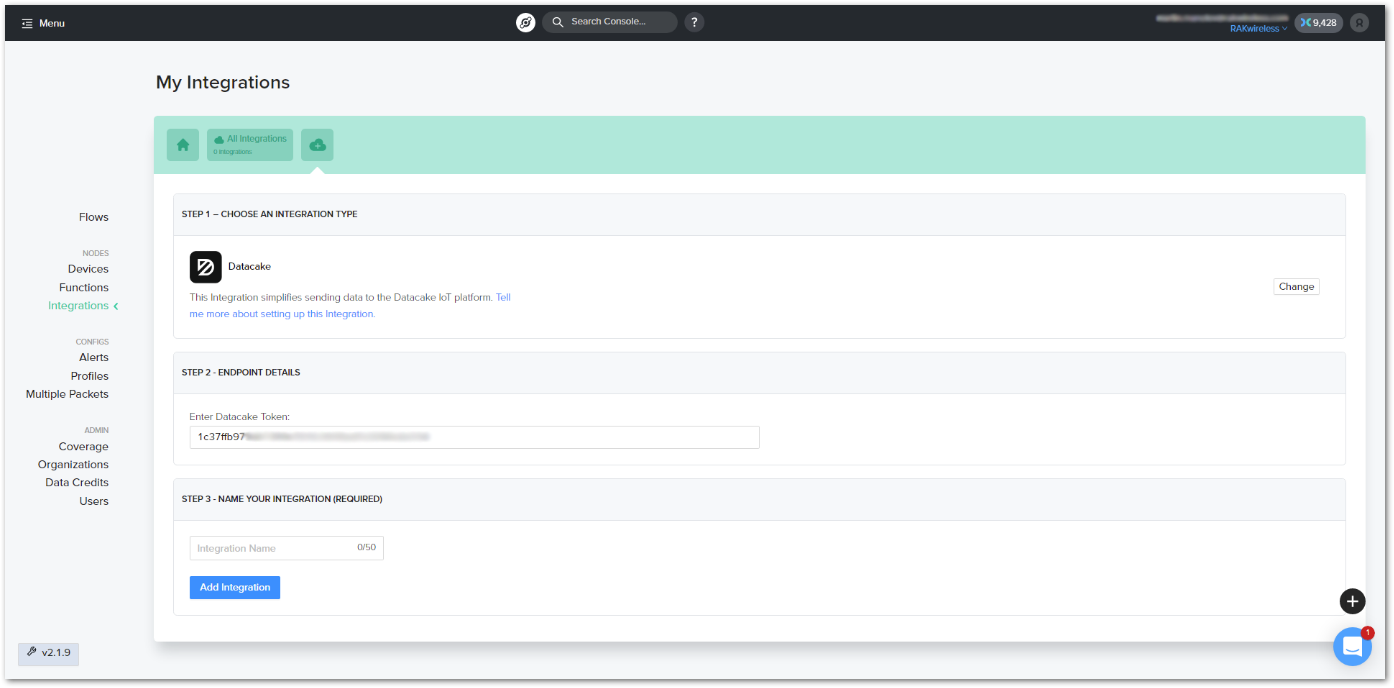
- On the next page, you will need a Datacake Token. To generate one, you will need a Datacake account. If you don't have an account yet, you can create one on Datacake's website.
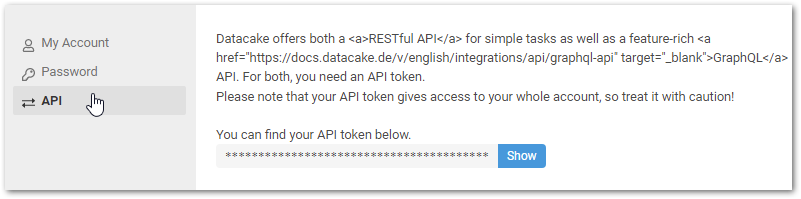
- After logging in to your Datacake account, click your profile and select Edit Profile.
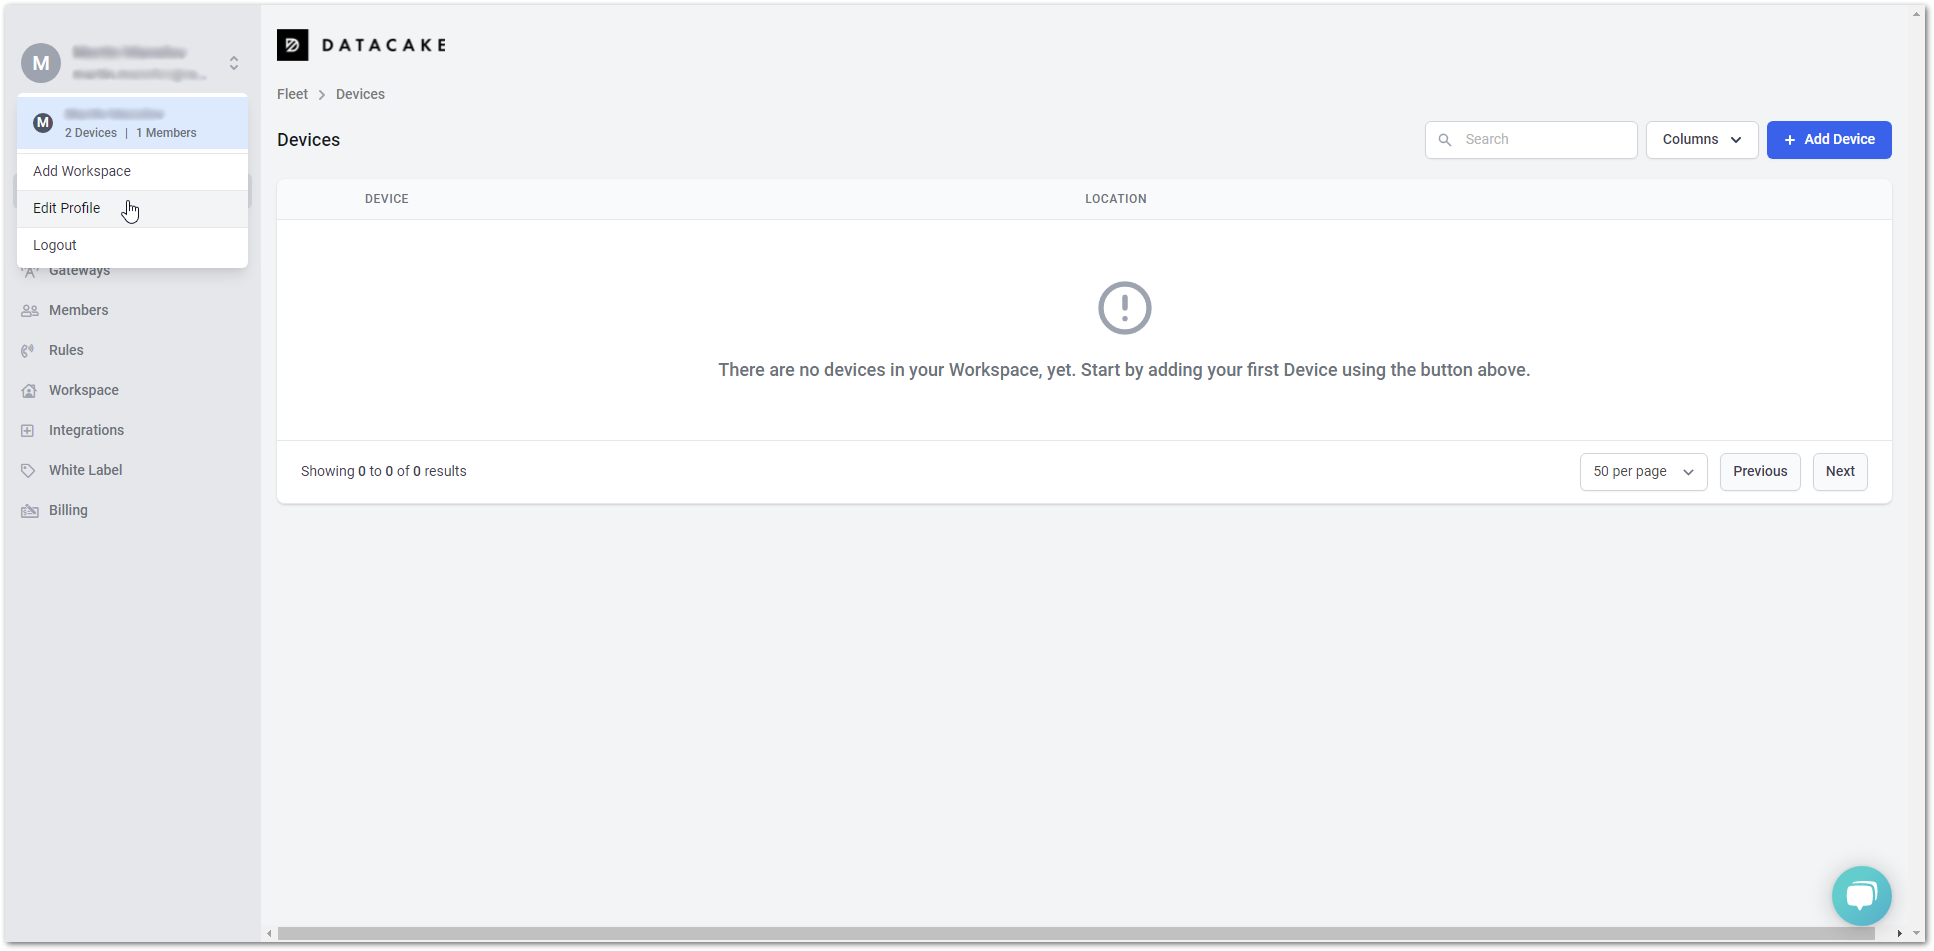
- In the API tab, you will find your API token. Copy and paste it into the Enter Datacake Token field in the Helium console.
- When you place the token, type a name of your choice for the integration and click Add Integration to continue.
Connection Between Helium and Datacake
- Now that the device is registered and the integration is created, you will need to make a connection between Helium and Datacake. Click Flows on the left menu.
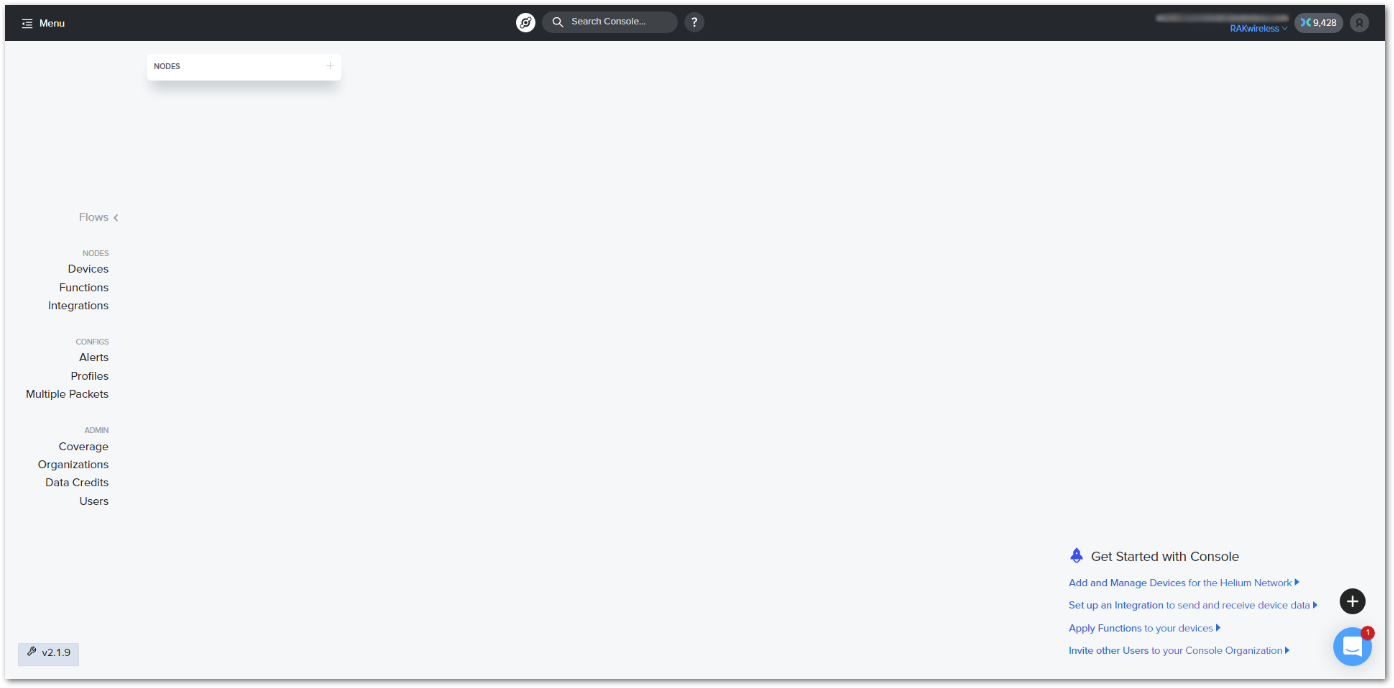
- Click the + icon in the Nodes area. A window will pop up with four menus – Labels, Devices, Functions, and Integrations. Click Devices, and you will see your registered device.
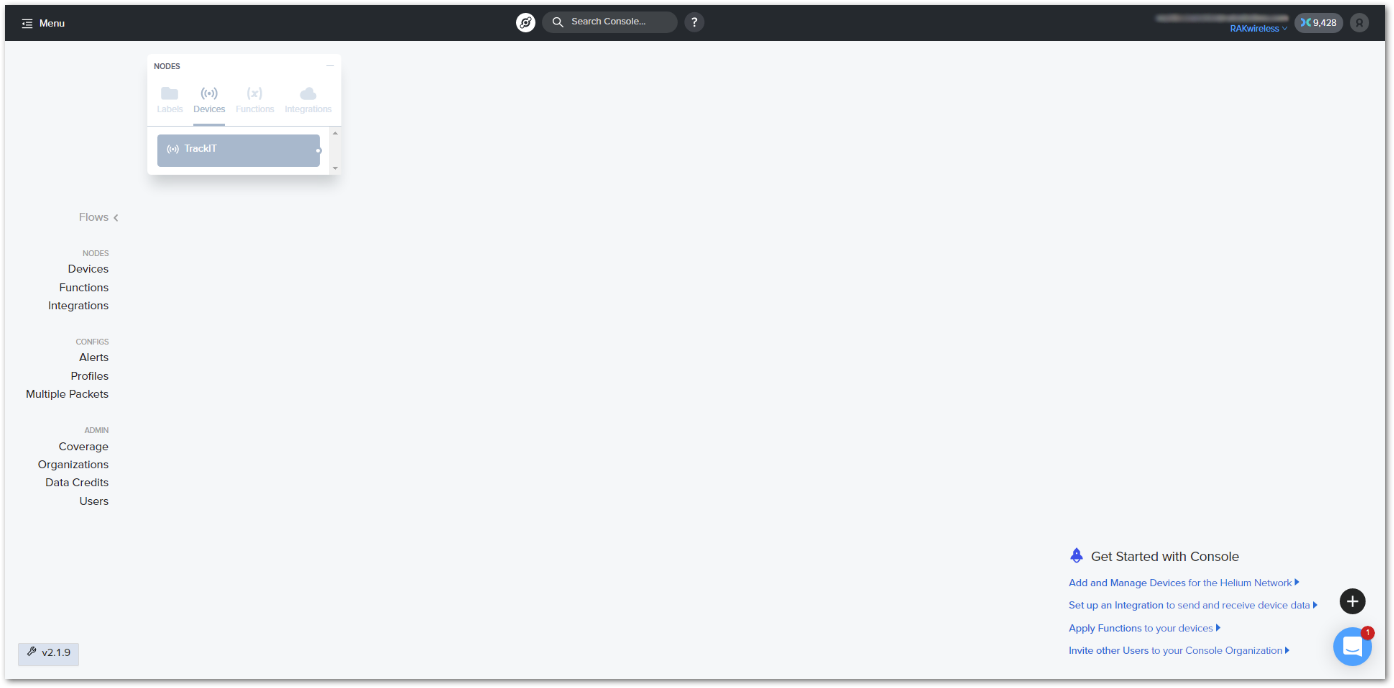
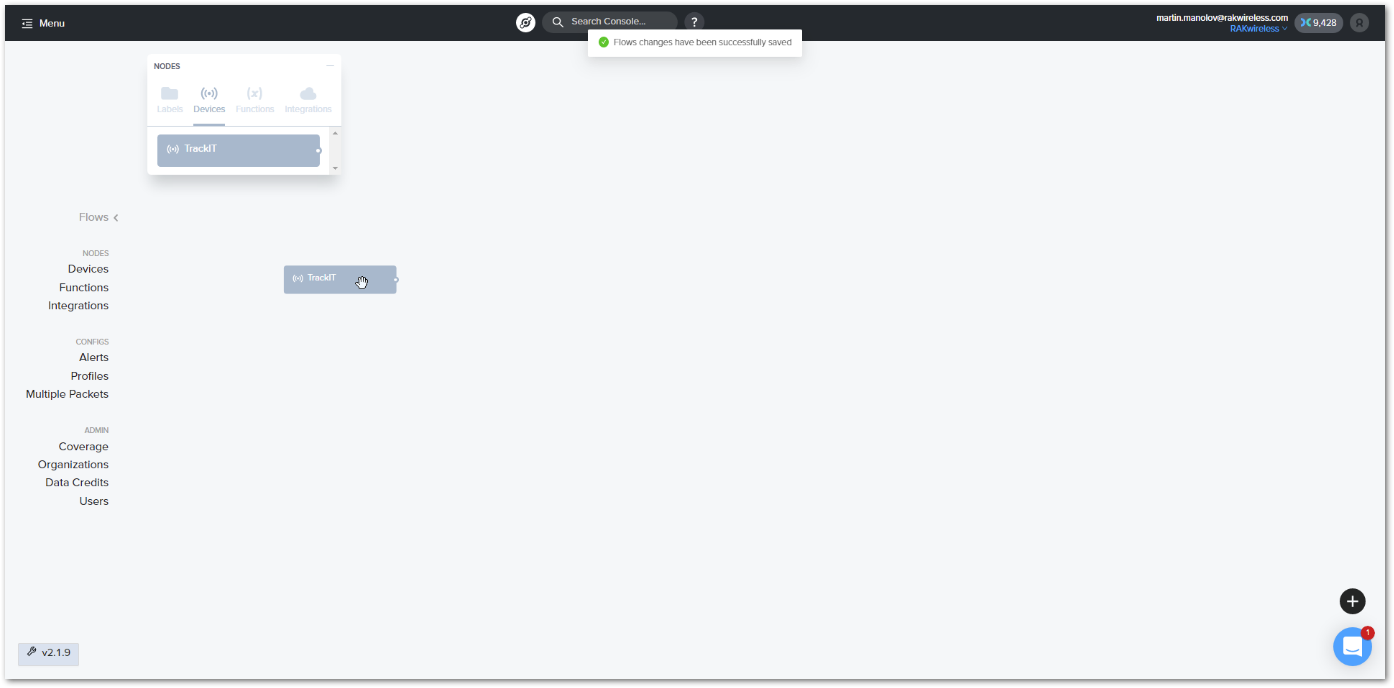
- Now, click your registered device, then drag and drop it on the blank page.
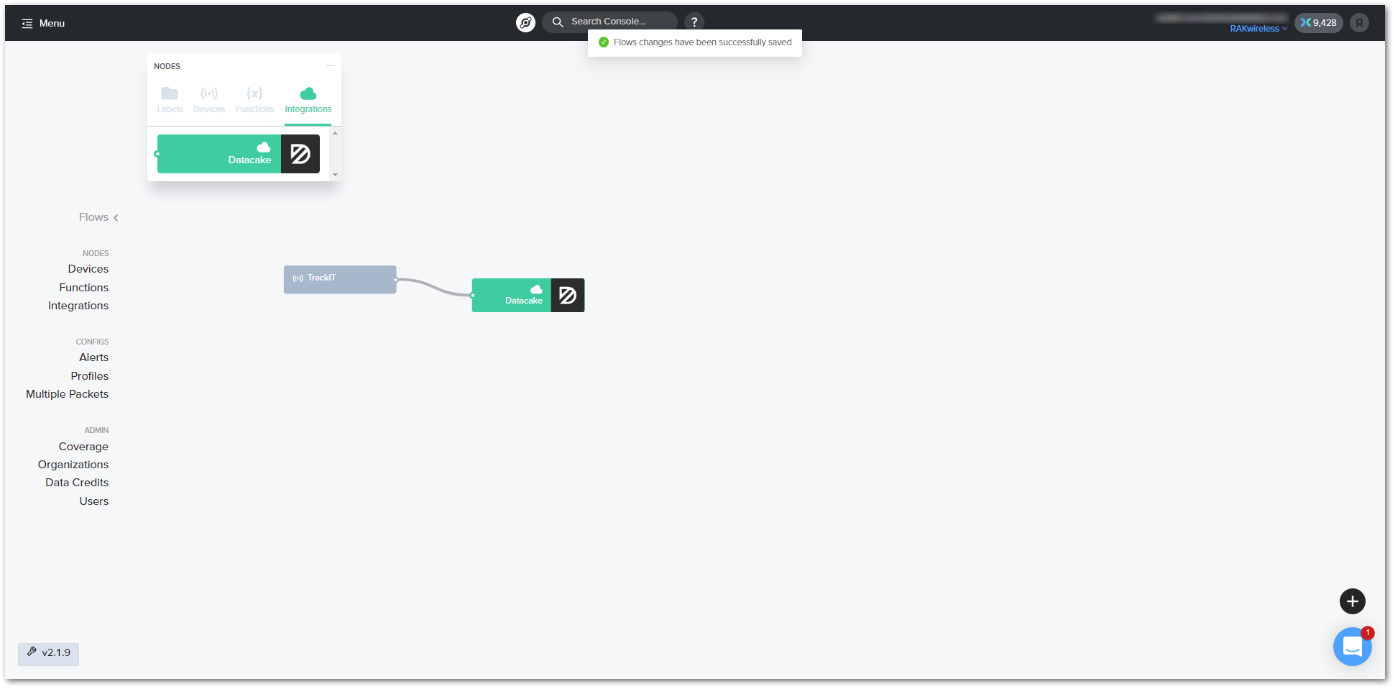
- Do the same with the created integration. Click the Integrations menu, then drag and drop it.
Datacake Device Resignation
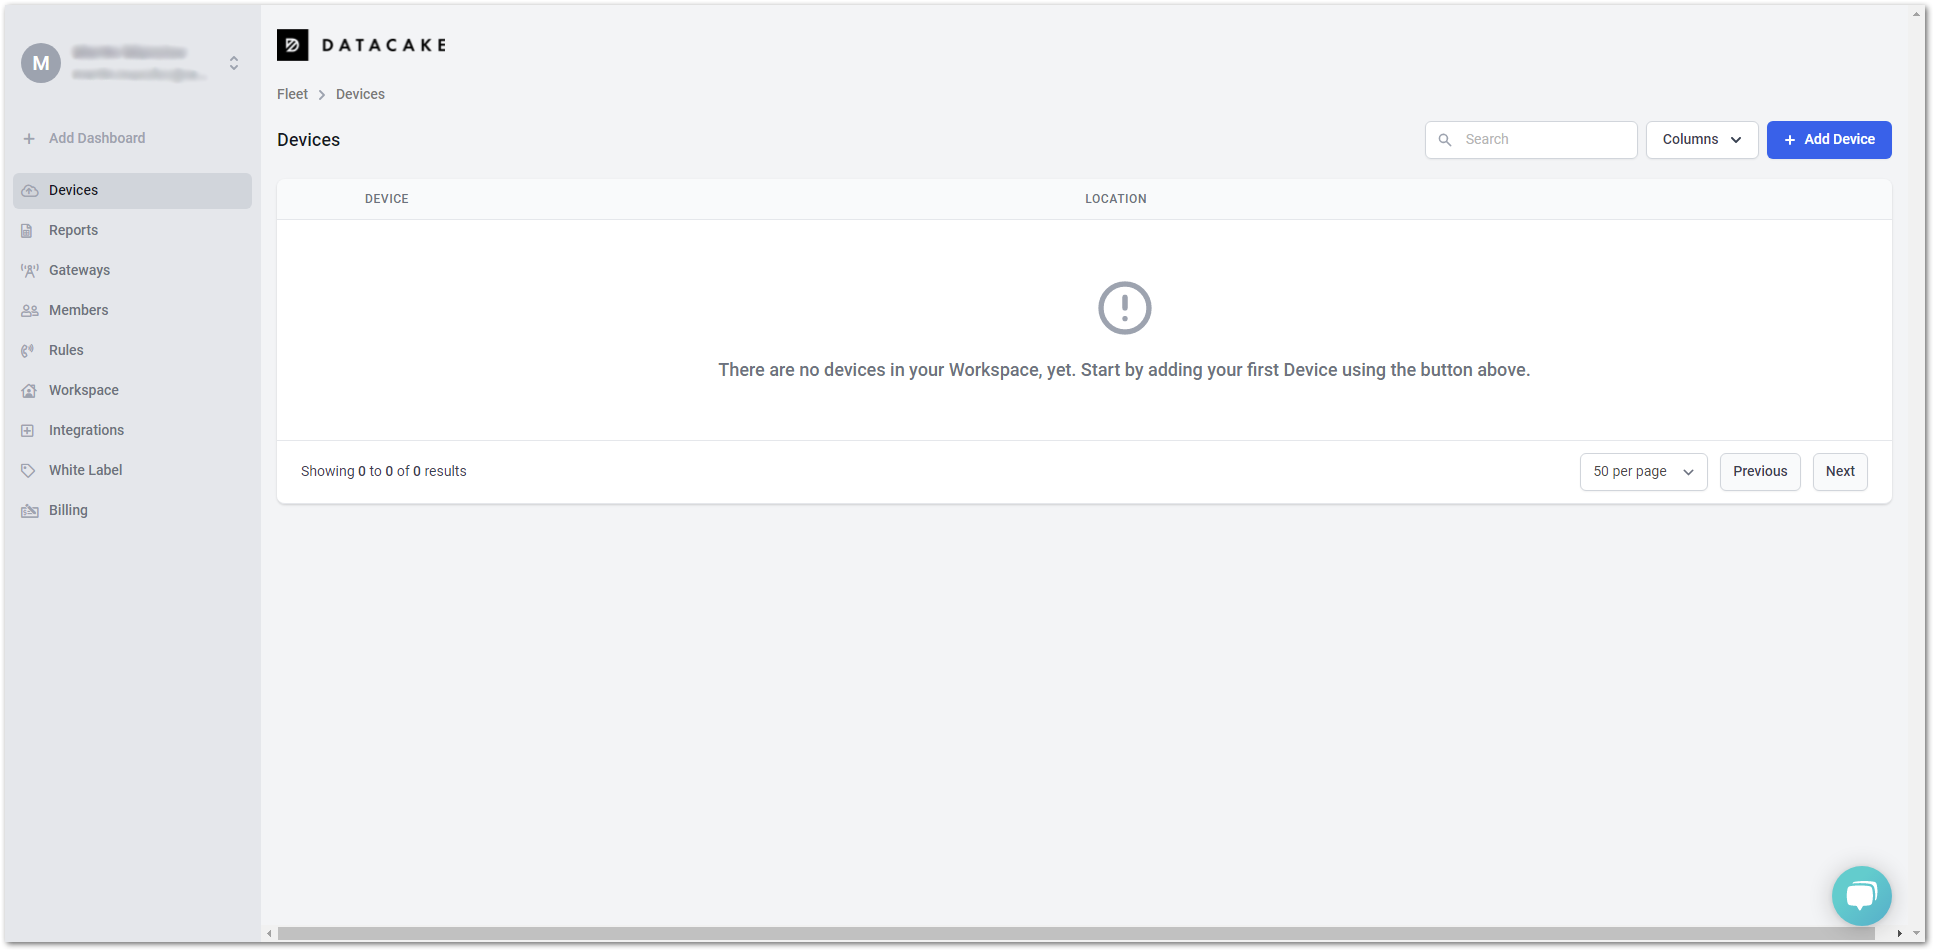
- You need to add the device to the Datacake console. Head to the Devices tab and click the + Add Device button.
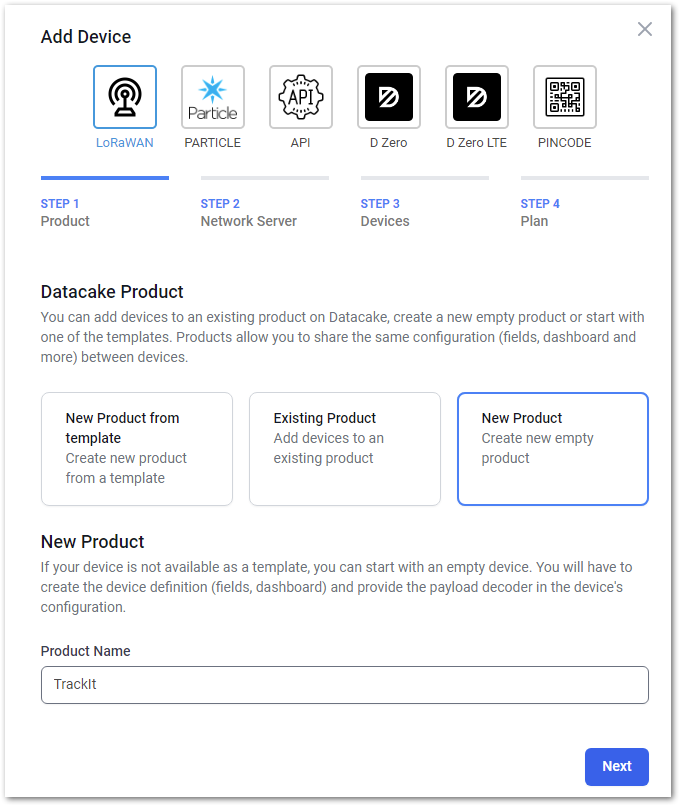
- Datacake has ready-to-use templates for different devices. However, as TrackIt is a new device, it doesn’t have a ready-to-use template, so you need to make one on your own. To add the device, click New Product and type the name of your product in the Product Name field.
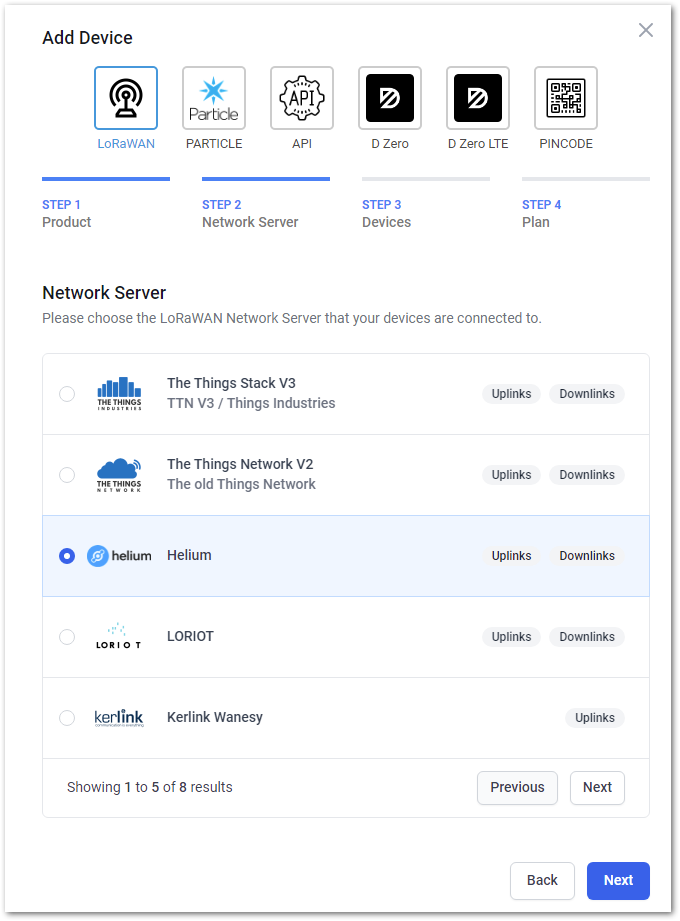
- Click Next to continue. On the next window, for Network Server, select Helium and click Next again.
- On the next page, type the Dev EUI and the Name of your device. You can add more than one
device. You can also drag and drop a
.csvfile, and it automatically adds multiple devices at once. Then click Next.

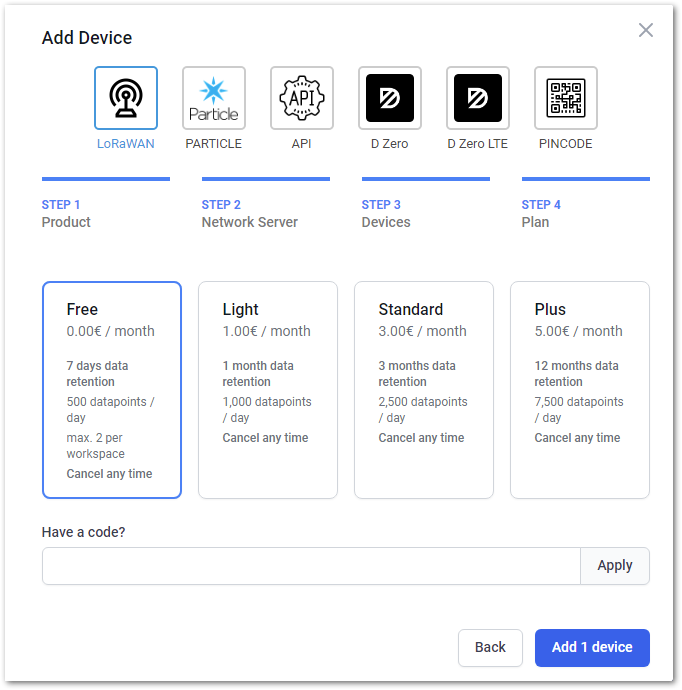
- On the next page, you have to choose a plan, then click the Add 1 device button to finish.
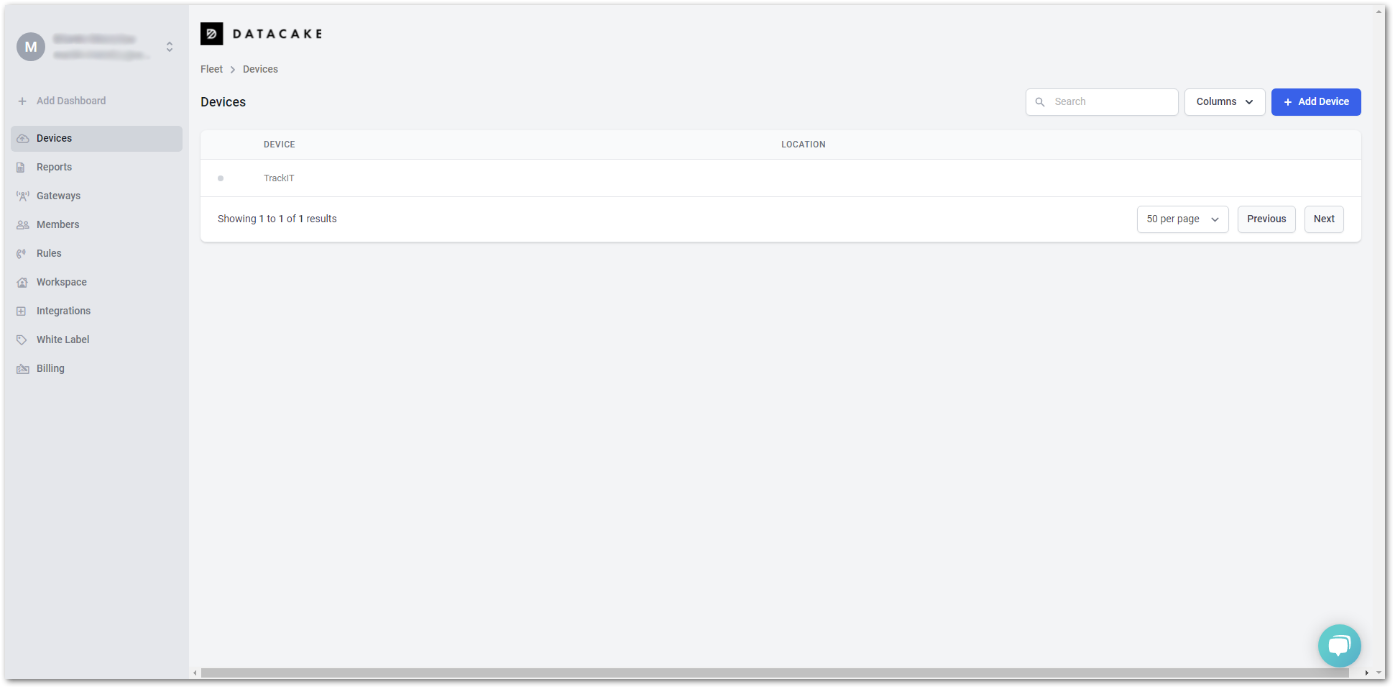
Now, your device is registered in Datacake.
- Before setting up the Datacake Dashboard of the device, make sure that the device has already joined in Helium Console.
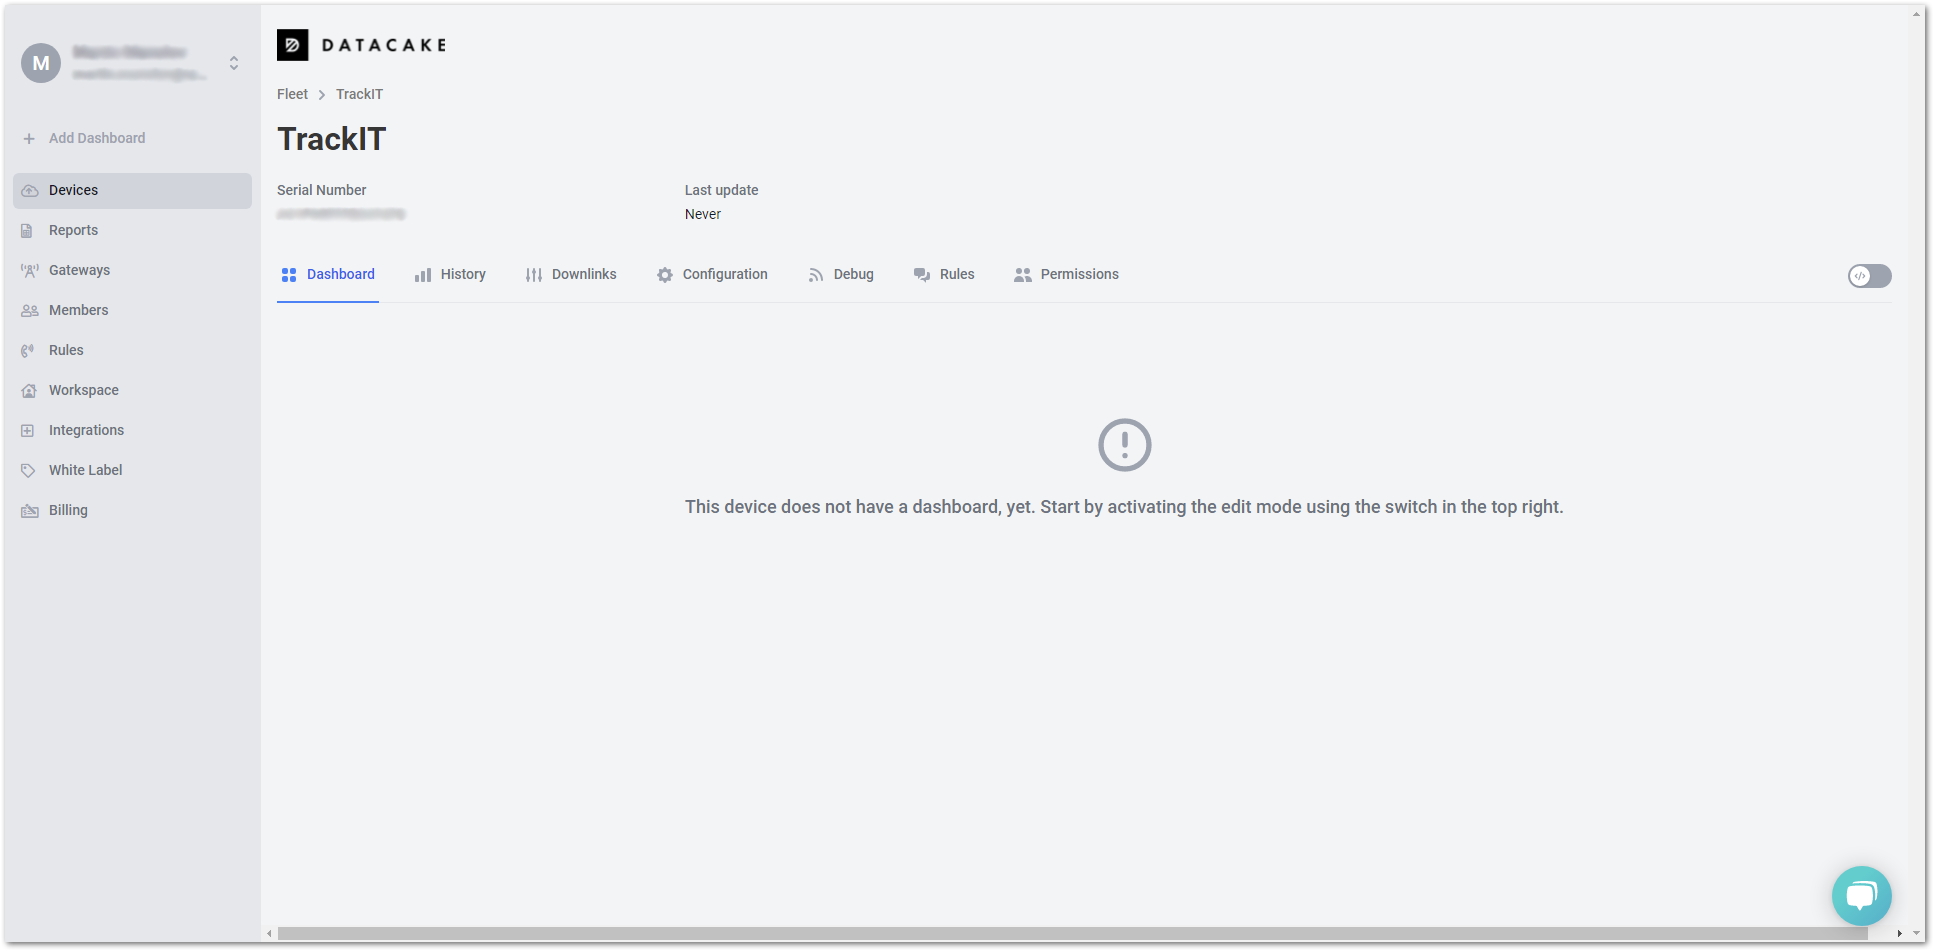
Configure the Device in Datacake
- You need to decode the raw data the device sends to Datacake for a more user-friendly preview. On the device page of the Datacake console, you can find different tabs like Dashboard, History, and Downlinks. For now, head on to the Configuration tab.
- Scroll down until you find the Payload Decoder field.
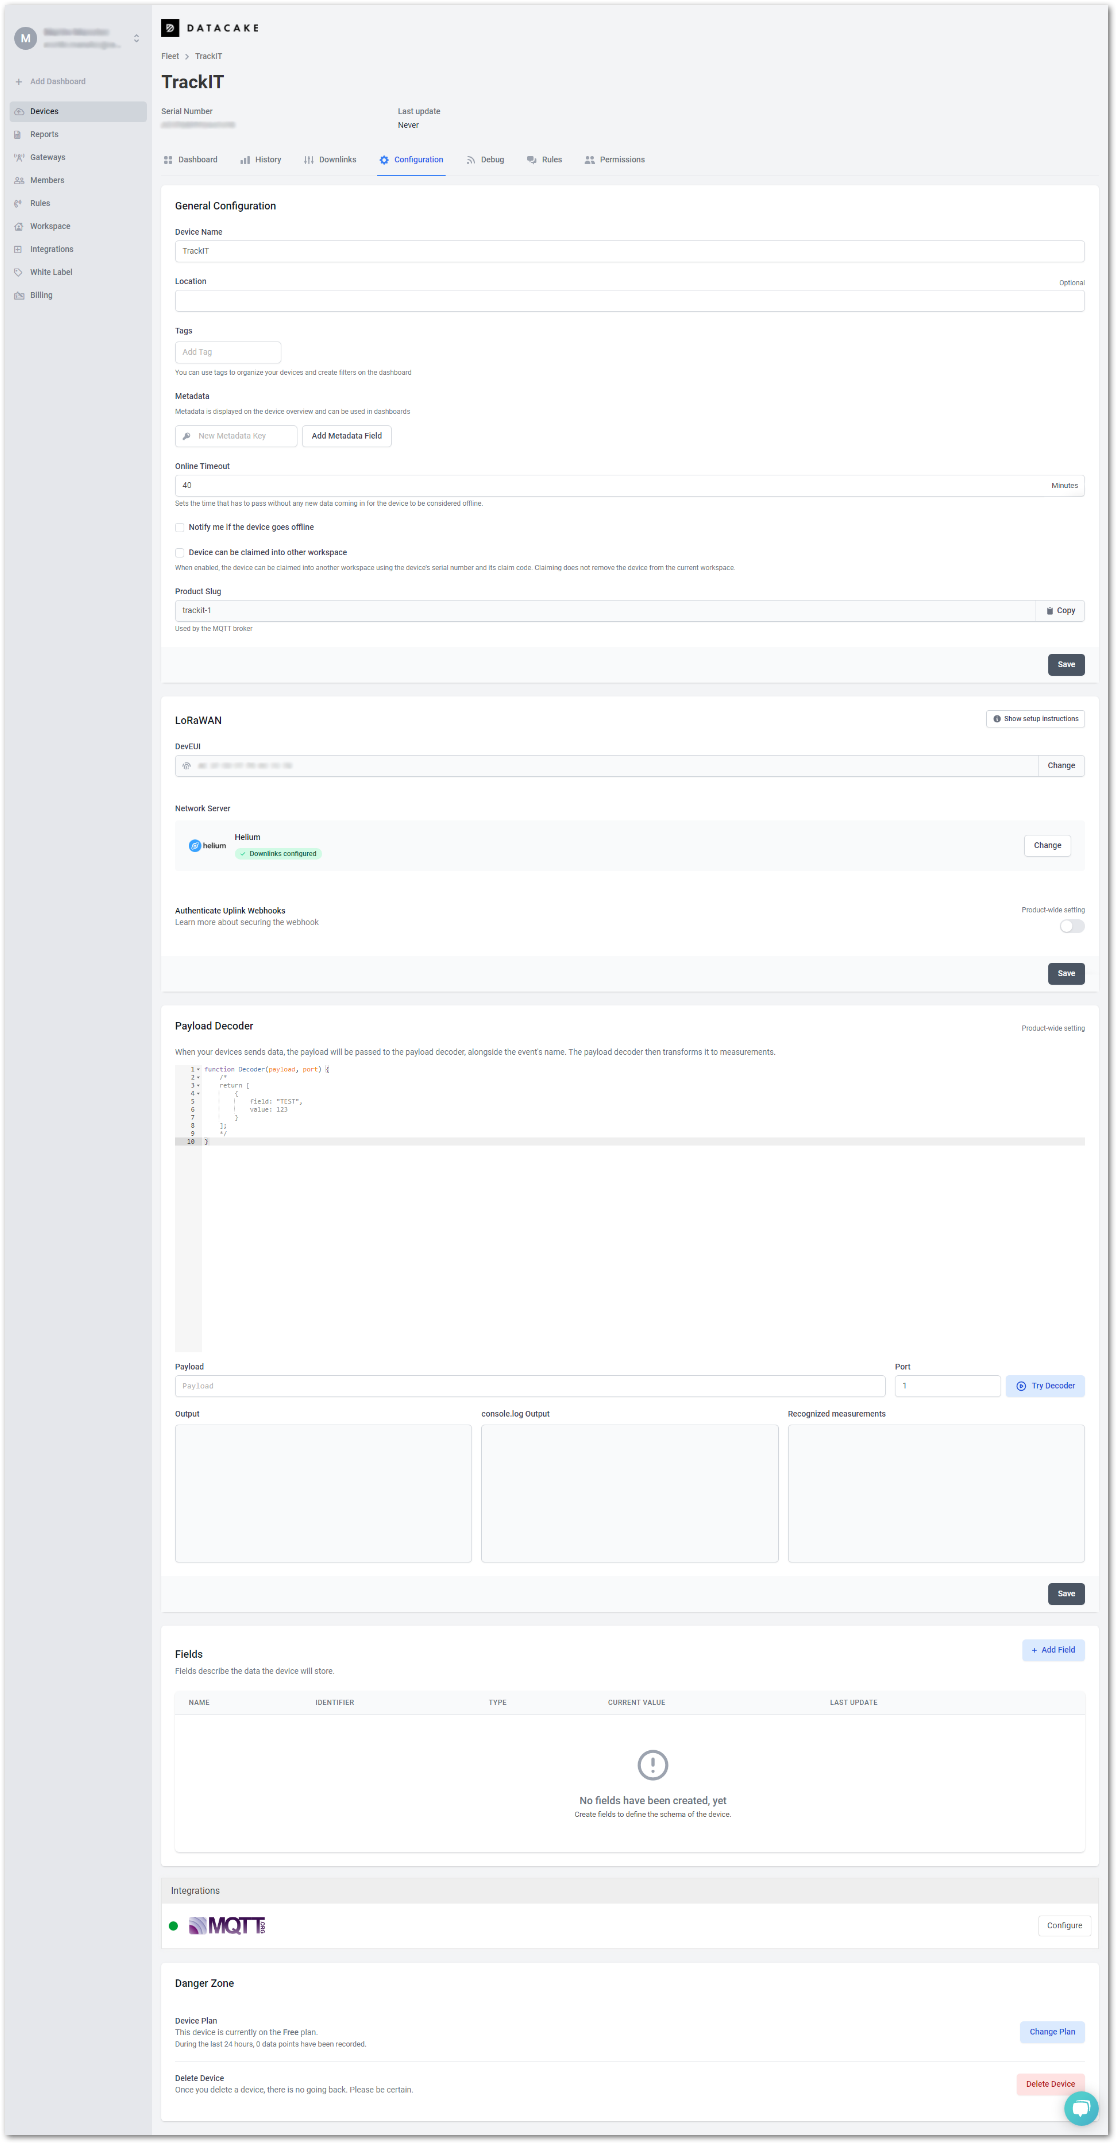
- In the Payload Decoder field, copy and paste the code below. Then click the Save button below the decoder field.
function Decoder(bytes, port) {
  var decoded = {}

  // adjust time zone, here Asia/Manila = +8H
  var my_time_zone = 8 * 60 * 60

  decoded.num = bytes[1]
  decoded.app_id = (bytes[2] << 24) | (bytes[3] << 16) | (bytes[4] << 8) | bytes[5]
  decoded.dev_id = (bytes[6] << 24) | (bytes[7] << 16) | (bytes[8] << 8) | bytes[9]
  switch (bytes[0]) {
    case 0xca: // No Location fix
      decoded.acc = 0
      decoded.fix = 0
      decoded.batt = bytes[10]
      decoded.time = (bytes[11] << 24) | (bytes[12] << 16) | (bytes[13] << 8) | bytes[14]
      // adjust time zone
      decoded.time = decoded.time + my_time_zone
      var dev_date = new Date(decoded.time * 1000)
      decoded.time_stamp = dev_date.getHours() + ':' + dev_date.getMinutes()
      decoded.date_stamp =
        dev_date.getDate() + '.' + (dev_date.getMonth() + 1) + '.' + dev_date.getFullYear()
      decoded.stat = bytes[15] & 0x03
      decoded.gps = bytes[15] & 0x0c
      break
    case 0xcb: // Location fix
      decoded.fix = 1
      decoded.batt = bytes[20]
      decoded.time = (bytes[21] << 24) | (bytes[22] << 16) | (bytes[23] << 8) | bytes[24]
      // adjust time zone
      decoded.time = decoded.time + my_time_zone
      var dev_date = new Date(decoded.time * 1000)
      decoded.time_stamp = dev_date.getHours() + ':' + dev_date.getMinutes()
      decoded.date_stamp =
        dev_date.getDate() + '.' + (dev_date.getMonth() + 1) + '.' + dev_date.getFullYear()
      decoded.stat = bytes[25] & 0x03
      decoded.gps = bytes[25] & 0x0c
      decoded.lng = (
        ((bytes[10] << 24) | (bytes[11] << 16) | (bytes[12] << 8) | bytes[13]) *
        0.000001
      ).toFixed(4)
      decoded.lat = (
        ((bytes[14] << 24) | (bytes[15] << 16) | (bytes[16] << 8) | bytes[17]) *
        0.000001
      ).toFixed(4)
      decoded.location = decoded.lat + ',' + decoded.lng
      decoded.acc = bytes[18]
      decoded.gps_start = bytes[19]
      break
    case 0xcc: // SOS
      decoded.sos = 1
      decoded.lng = (
        ((bytes[10] << 24) | (bytes[11] << 16) | (bytes[12] << 8) | bytes[13]) *
        0.000001
      ).toFixed(4)
      decoded.lat = (
        ((bytes[14] << 24) | (bytes[15] << 16) | (bytes[16] << 8) | bytes[17]) *
        0.000001
      ).toFixed(4)
      if (bytes.length > 18) {
        var i
        for (i = 18; i < 28; i++) {
          decoded.name += bytes[i].toString()
        }
        for (i = 28; i < 40; i++) {
          decoded.country += bytes[i].toString()
        }
        for (i = 39; i < 50; i++) {
          decoded.phone += bytes[i].toString()
        }
      }
      break
    case 0xcd:
      decoded.sos = 0
      break
    case 0xce:
      decoded.alarm = 0x01
      decoded.alarm_lvl = bytes[10]
      break
  }
  return decoded
}
- Now you can see the decoded data you receive in the Debug tab.
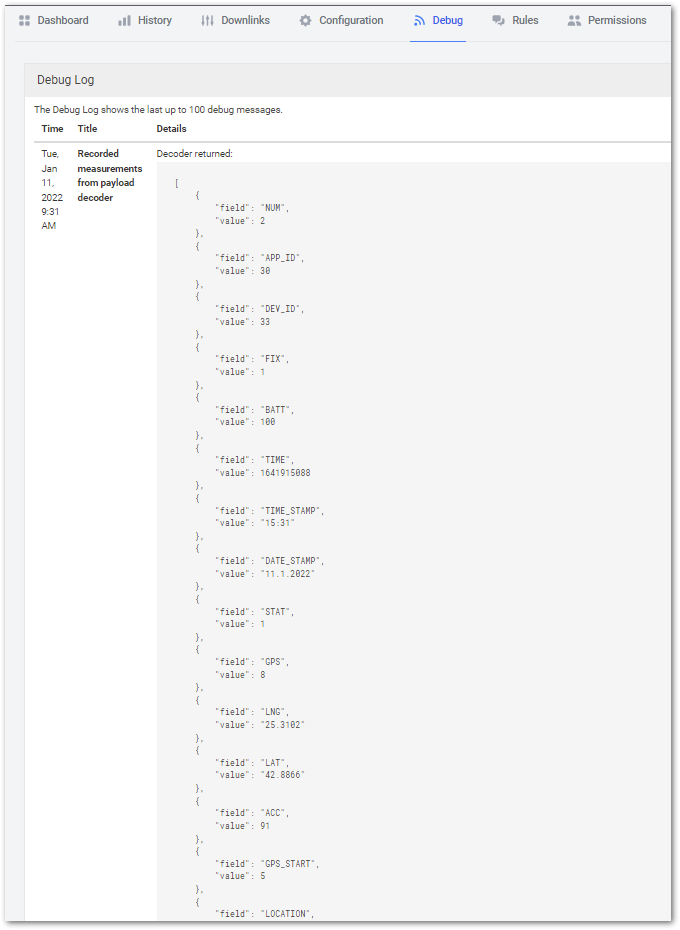
- Create fields for the different data that the device sends. Below is a list of the fields you can create:
| Type | Name | Identifier | Description |
|---|---|---|---|
| Integer | Frame Counter | NUM | Packets Counter |
| Integer | Application ID | APP_ID | The ID of the application |
| Integer | Device ID | DEV_ID | The ID of the device |
| Boolean | Fix | FIX | GPS fix |
| Integer | Battery | BATT | Battery level |
| String | Time Stamp | TIME_STAMP | Time of the packet |
| String | Date Stamp | DATE_STAMP | Date of the packet |
| Integer | Status | STAT |
|
| Integer | GPS | GPS |
|
| Integer | Accuracy | ACC | Accuracy of GPS |
| Geolocation | Location | LOCATION | GPS coordinates |
| String | Tracker ID | TRACKER_ID | The ID of the tracker |
| Integer | Alarm Level | ALARM_LVL | The level of the alarm set in the application |
| Integer | Alarm | ALARM | Shows if the alarm is triggered |
- To create a field, in the Configuration tab for the device in the Datacake console, scroll down to the Fields field and click the + Add Field button. In the Add Field window, fill in the following information based on the table above:
- Type – Type of the field.
- Name – Name of the field. Note that you can type a name of your choice. The above names are just a template.
- Identifier – The decoder decodes the data in fields. The identifier must be exactly the name of the field of the decoded data (e.g. TIME_STAMP for the Time Stamp field). Note that field names cannot be changed.
- Unit (optional) – The unit of the value (e.g. V for battery (volts)).
- Use formula - Formulas can be used to perform calculations on values based on other fields.
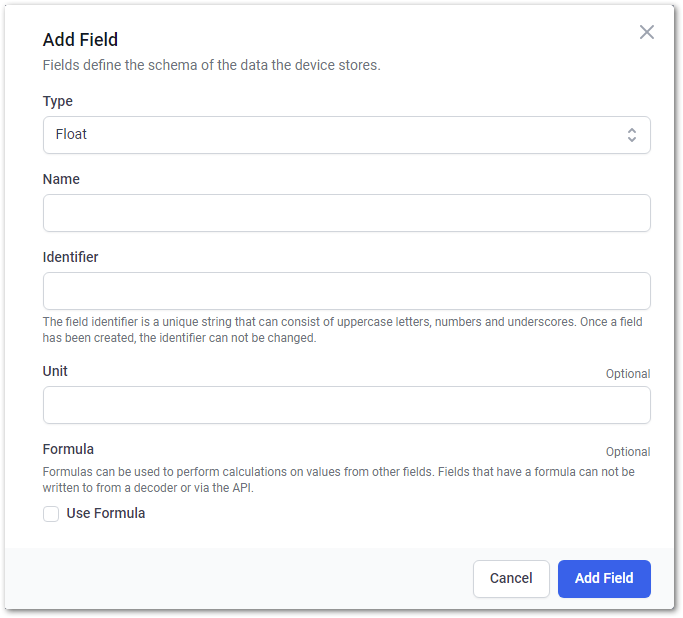
For example, to create a LOCATION field, choose Geolocation in the Type field. For the Identifier field, type the name of the decoded data field: LOCATION.

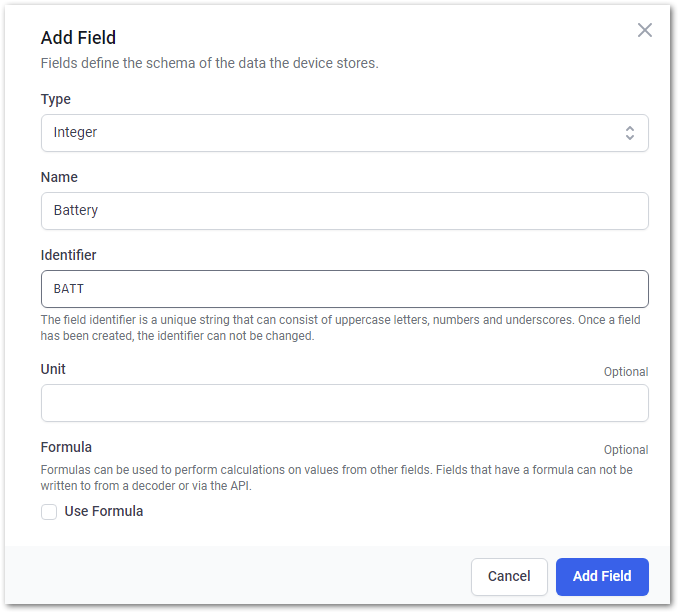
- When you enter the required information, click Add Field. You will see the created field in the Field tab. Once a packet is received, the field will take the value of the identifier.

Another example is if you want to create a field for the battery level. Click again + Add Field, and select Integer in the Type field. Type Battery in the Name field and BATT in the Identifier field.
Do the same with the other fields. It is up to you to decide on what fields are required for your project. Make sure you select the right Type and enter the correct Identifier.
Now that the fields are created, head to the Dashboard of the device. Activate the Edit mode using the switch
 and
click + Add Widget. You can create a widget to preview the data in the dashboard. Choose the
correct widget for the desired field.
and
click + Add Widget. You can create a widget to preview the data in the dashboard. Choose the
correct widget for the desired field.
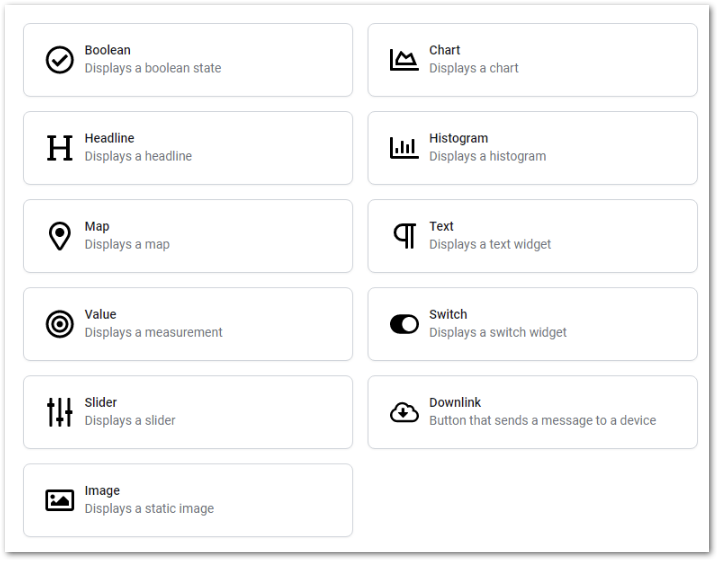
For example, when creating a map, click the Map (Displays a map) widget.
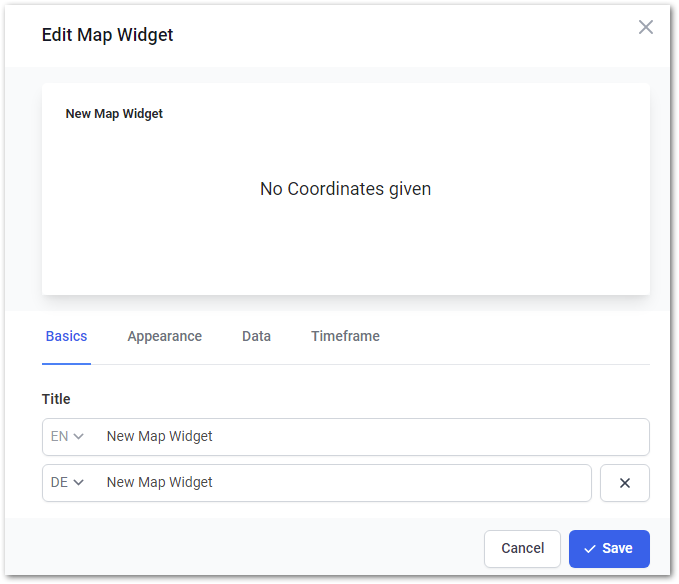
- In the Basics tab, you can type a name for the widget. In the Appearance tab, you can set a design to your widget (color, style). The Data tab is most important. Here you need to select the location field you have created above. Click the + Add field and select the Location field. In addition, in the Timeframe tab, you can enable whether the map will show historical data.
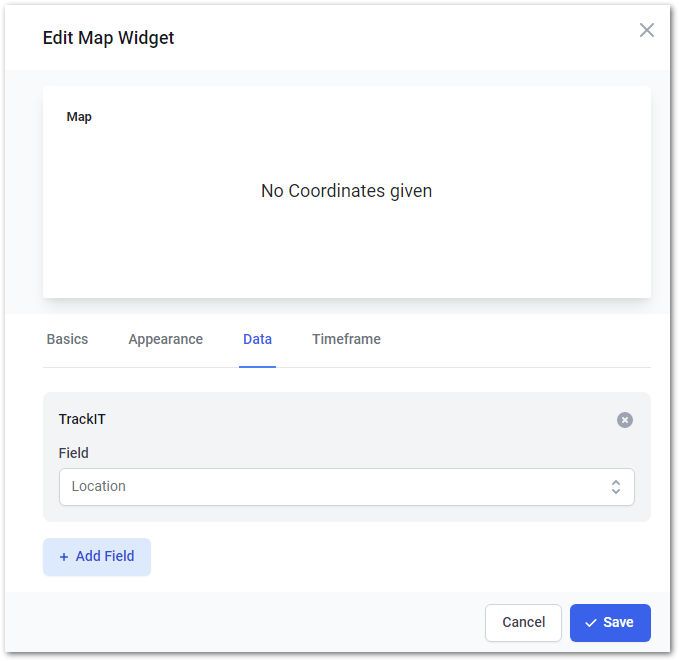
- Once, you have set the field, click Save and you will see the map in the Dashboard.
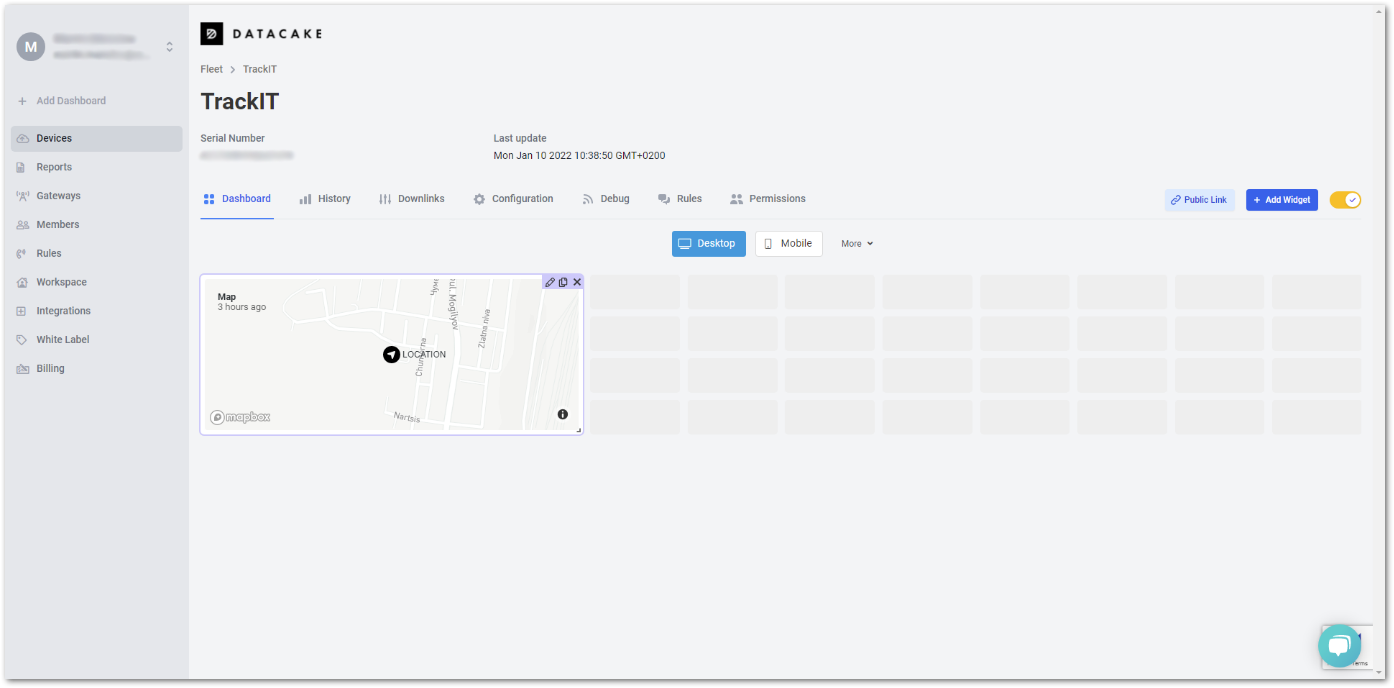
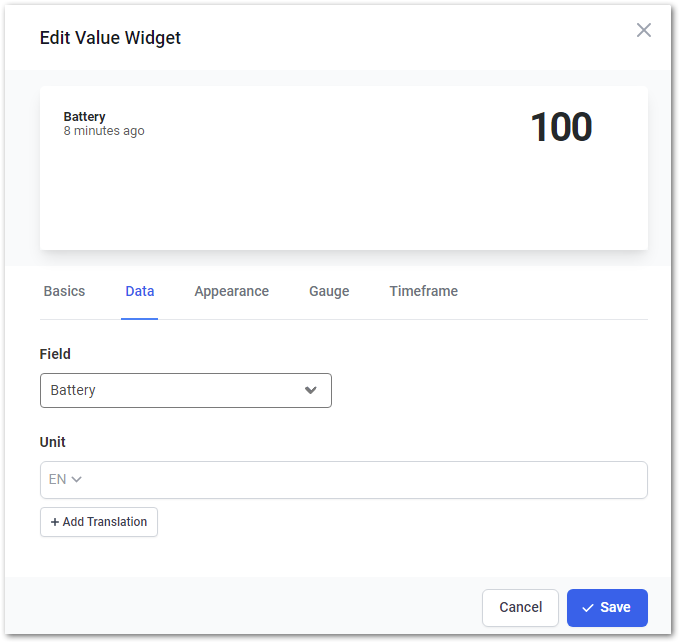
In addition, if you want to add a widget to see the battery level of the device, click again + Add Widget and select Value. In the Data tab, select Battery for Field. Then click Save to add the widget.
- If you want, you can create other widgets. For example:
- String/Integer field - choose Value (Displays a measurement).
- Boolean field - choose Boolean (Displays a boolean state).

- Once you add your widgets, you can customize your Dashboard depending on your needs. Remember, when you finish customizing your Dashboard, deactivate the Edit mode by clicking the yellow switch to save your changes.