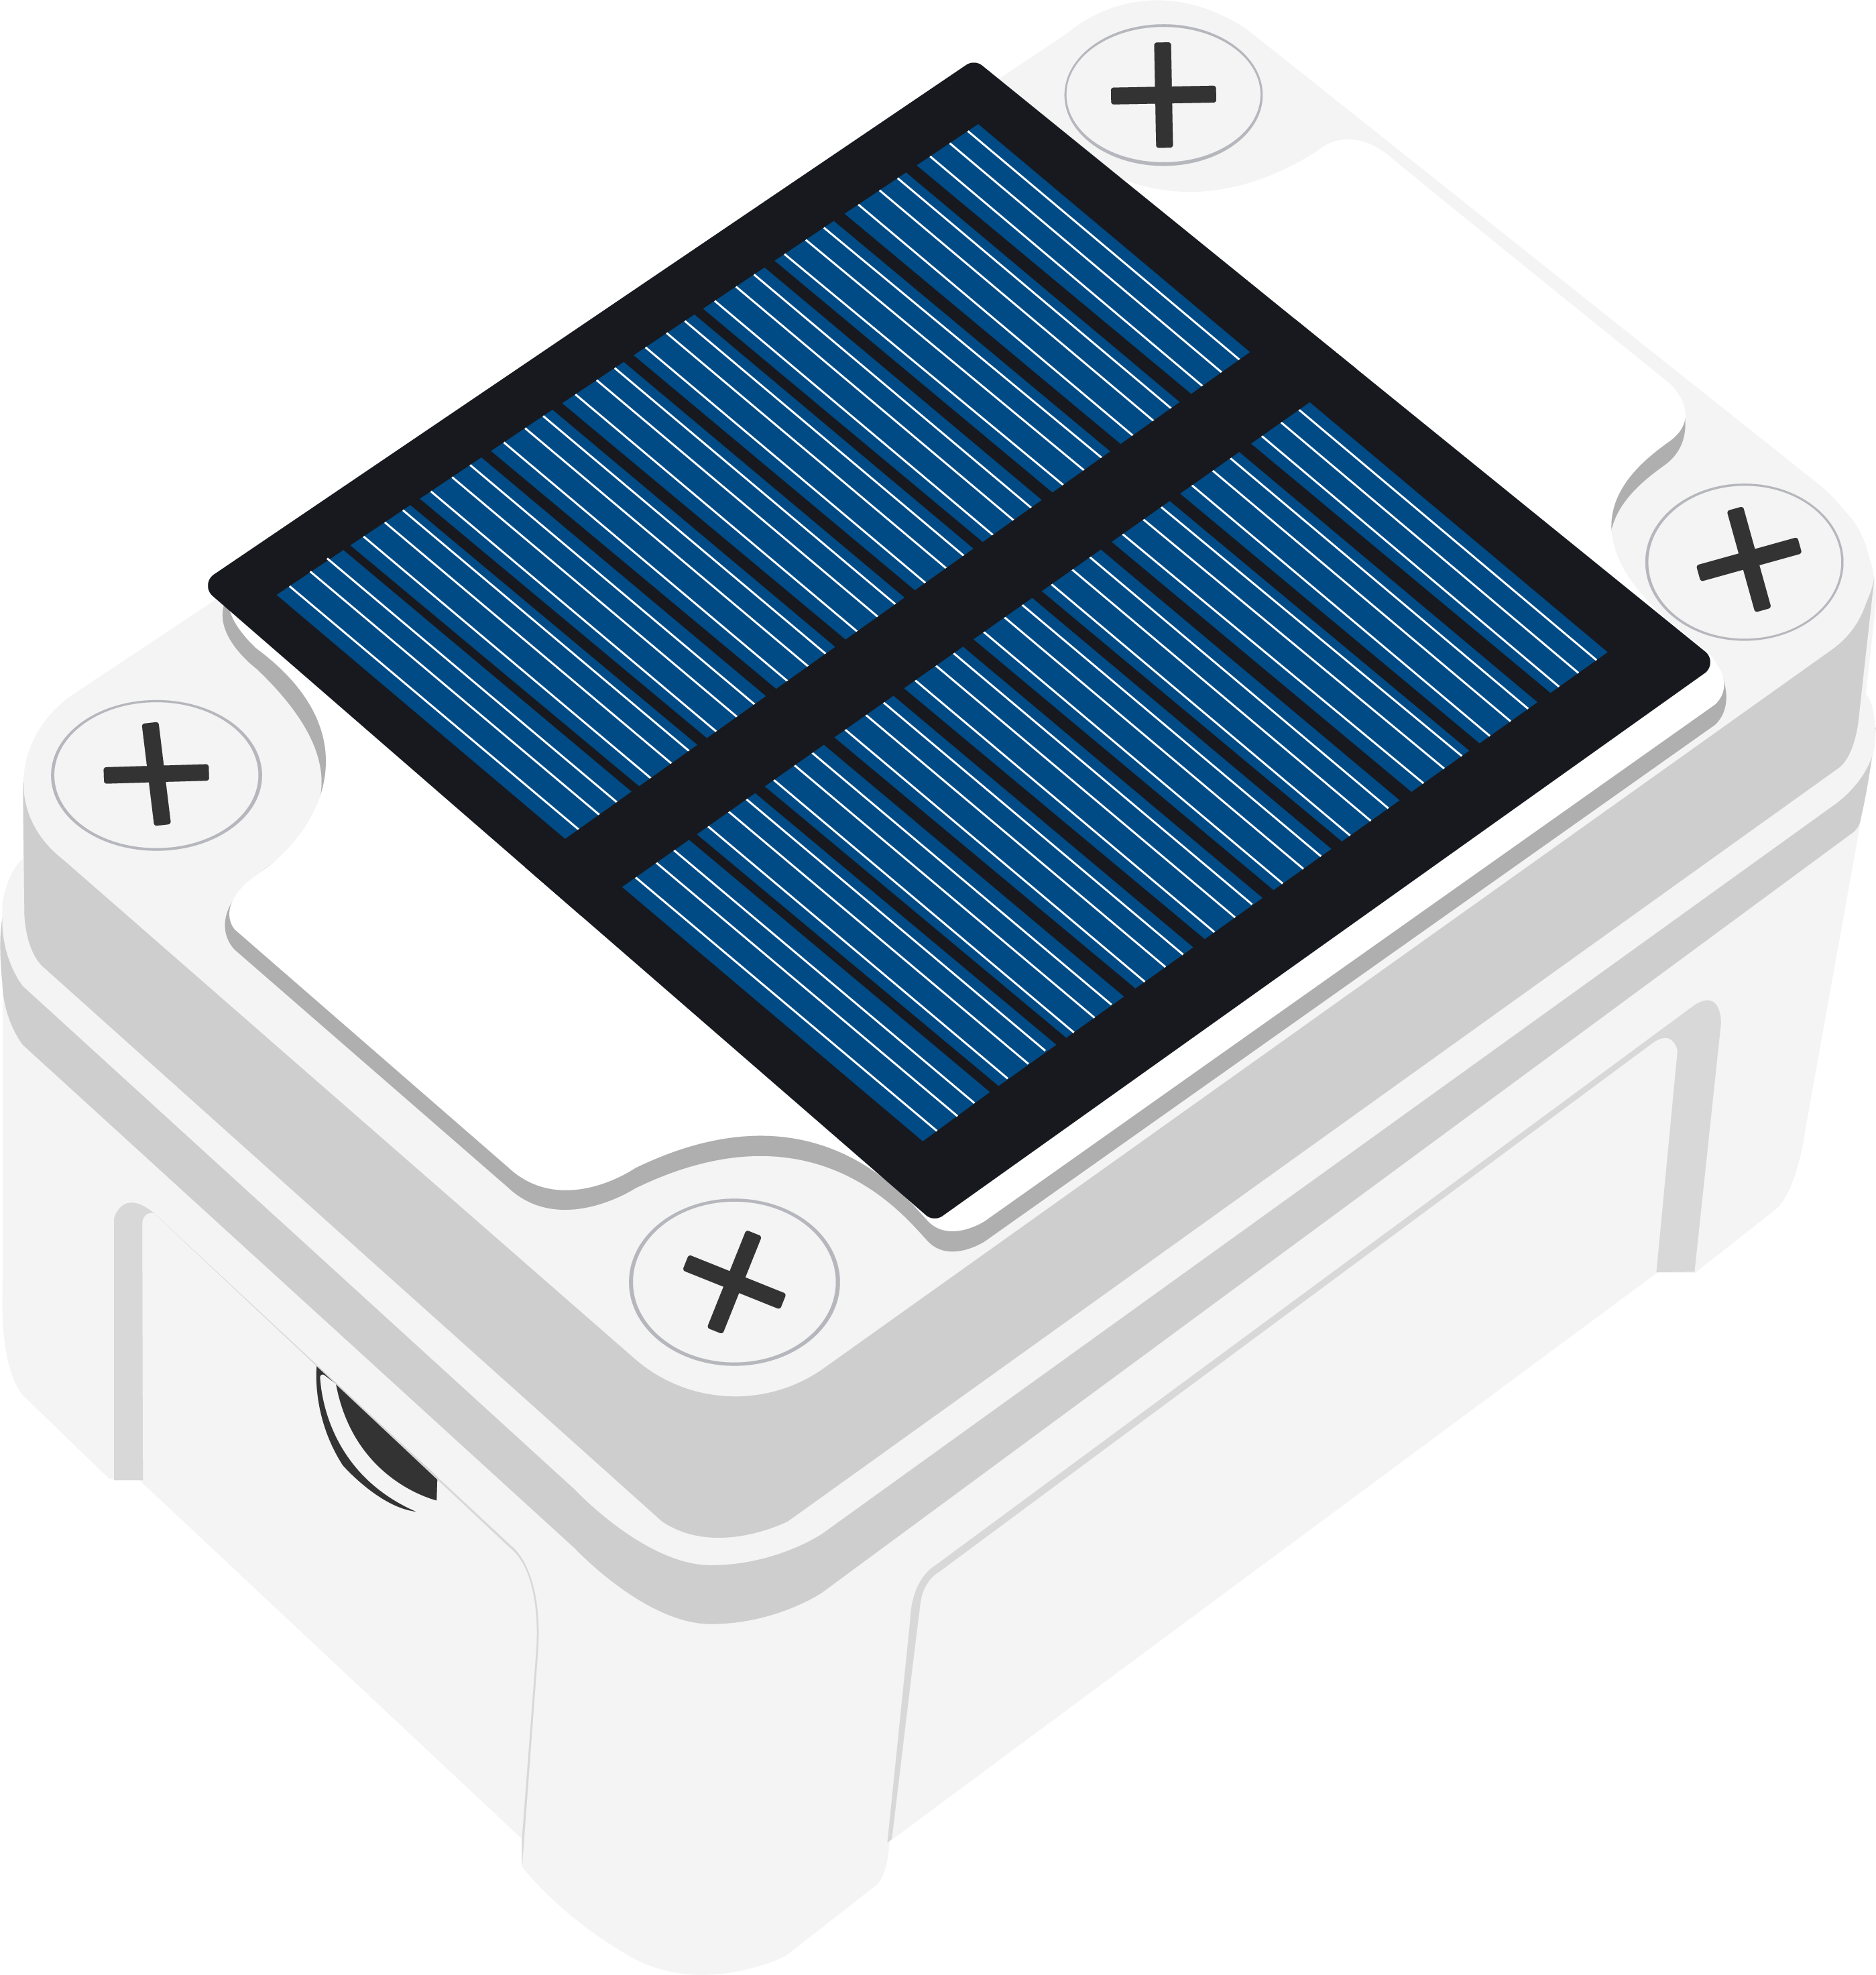
RAK10700 WisBlock GNSS Tracker for LoRaWAN
Overview
The RAK10700 WisBlock GNSS Tracker for LoRaWAN is an LPWAN Tracker device with a GNSS modem. It is built with the WisBlock modules providing LPWAN and BLE communication using the nRF52 MCU and SX1262 LoRa transceiver of the RAK4631 Core module. It includes the RAK12500 GNSS location module with the u-blox ZOE-M8Q chip, the RAK1906 environment sensor with the Bosch BME680 sensor, and the RAK1904 with an ST LIS3DH 3-axis acceleration sensor.
It is a feature-packed tracker device for featured applications development. It can also be used as a quick prototyping tool for Internet-of-Things (IoT) and LoRaWAN Integration. Moreover, this LPWAN Tracker is perfect for IoT applications such as asset tracking, smart vehicle management, and location-based services.
Product Features
- Supports sleep mode and low-power consumption.
- Built-in LIS3DH - digital motion sensor, which has dynamic user selectable full scales of ±2g/±4g/±8g/±18g and is capable of measuring accelerations with output data rates from 1 Hz to 5 kHz.
- Environment sensor: Built-in Bosch BME680 air quality sensor.
- GNSS location sensor: u-blox ZOE-M8Q.
- LoRaWAN 1.0.2 Standard support - ABP or OTAA mode.
- LoRa P2P support.
- LoRa, BLE, and GPS antenna are integrated inside the casing.
- Micro USB for configuration and charging of the battery.
- Supports global license-free frequency band: RU864, IN865, EU868, RU864, US915, AU915, KR920, and AS923.
Useful Resources
Connecting to Helium (The People's Network)
Before going through each and every step in Connecting the RAK10700 to Helium, it is
recommended to check first our Quick Start Guide.
Helium has quickly become the most widespread LPWAN communal network, with more than 400,000 hotspots deployed globally at the beginning of 2021. All the RAKwireless node products are compatible with it, and the process of adding a device to the network is intuitive and straightforward.
This guide focuses on connecting the GNSS Tracker to the network console, assuming that there is a Helium Hotspot within range.
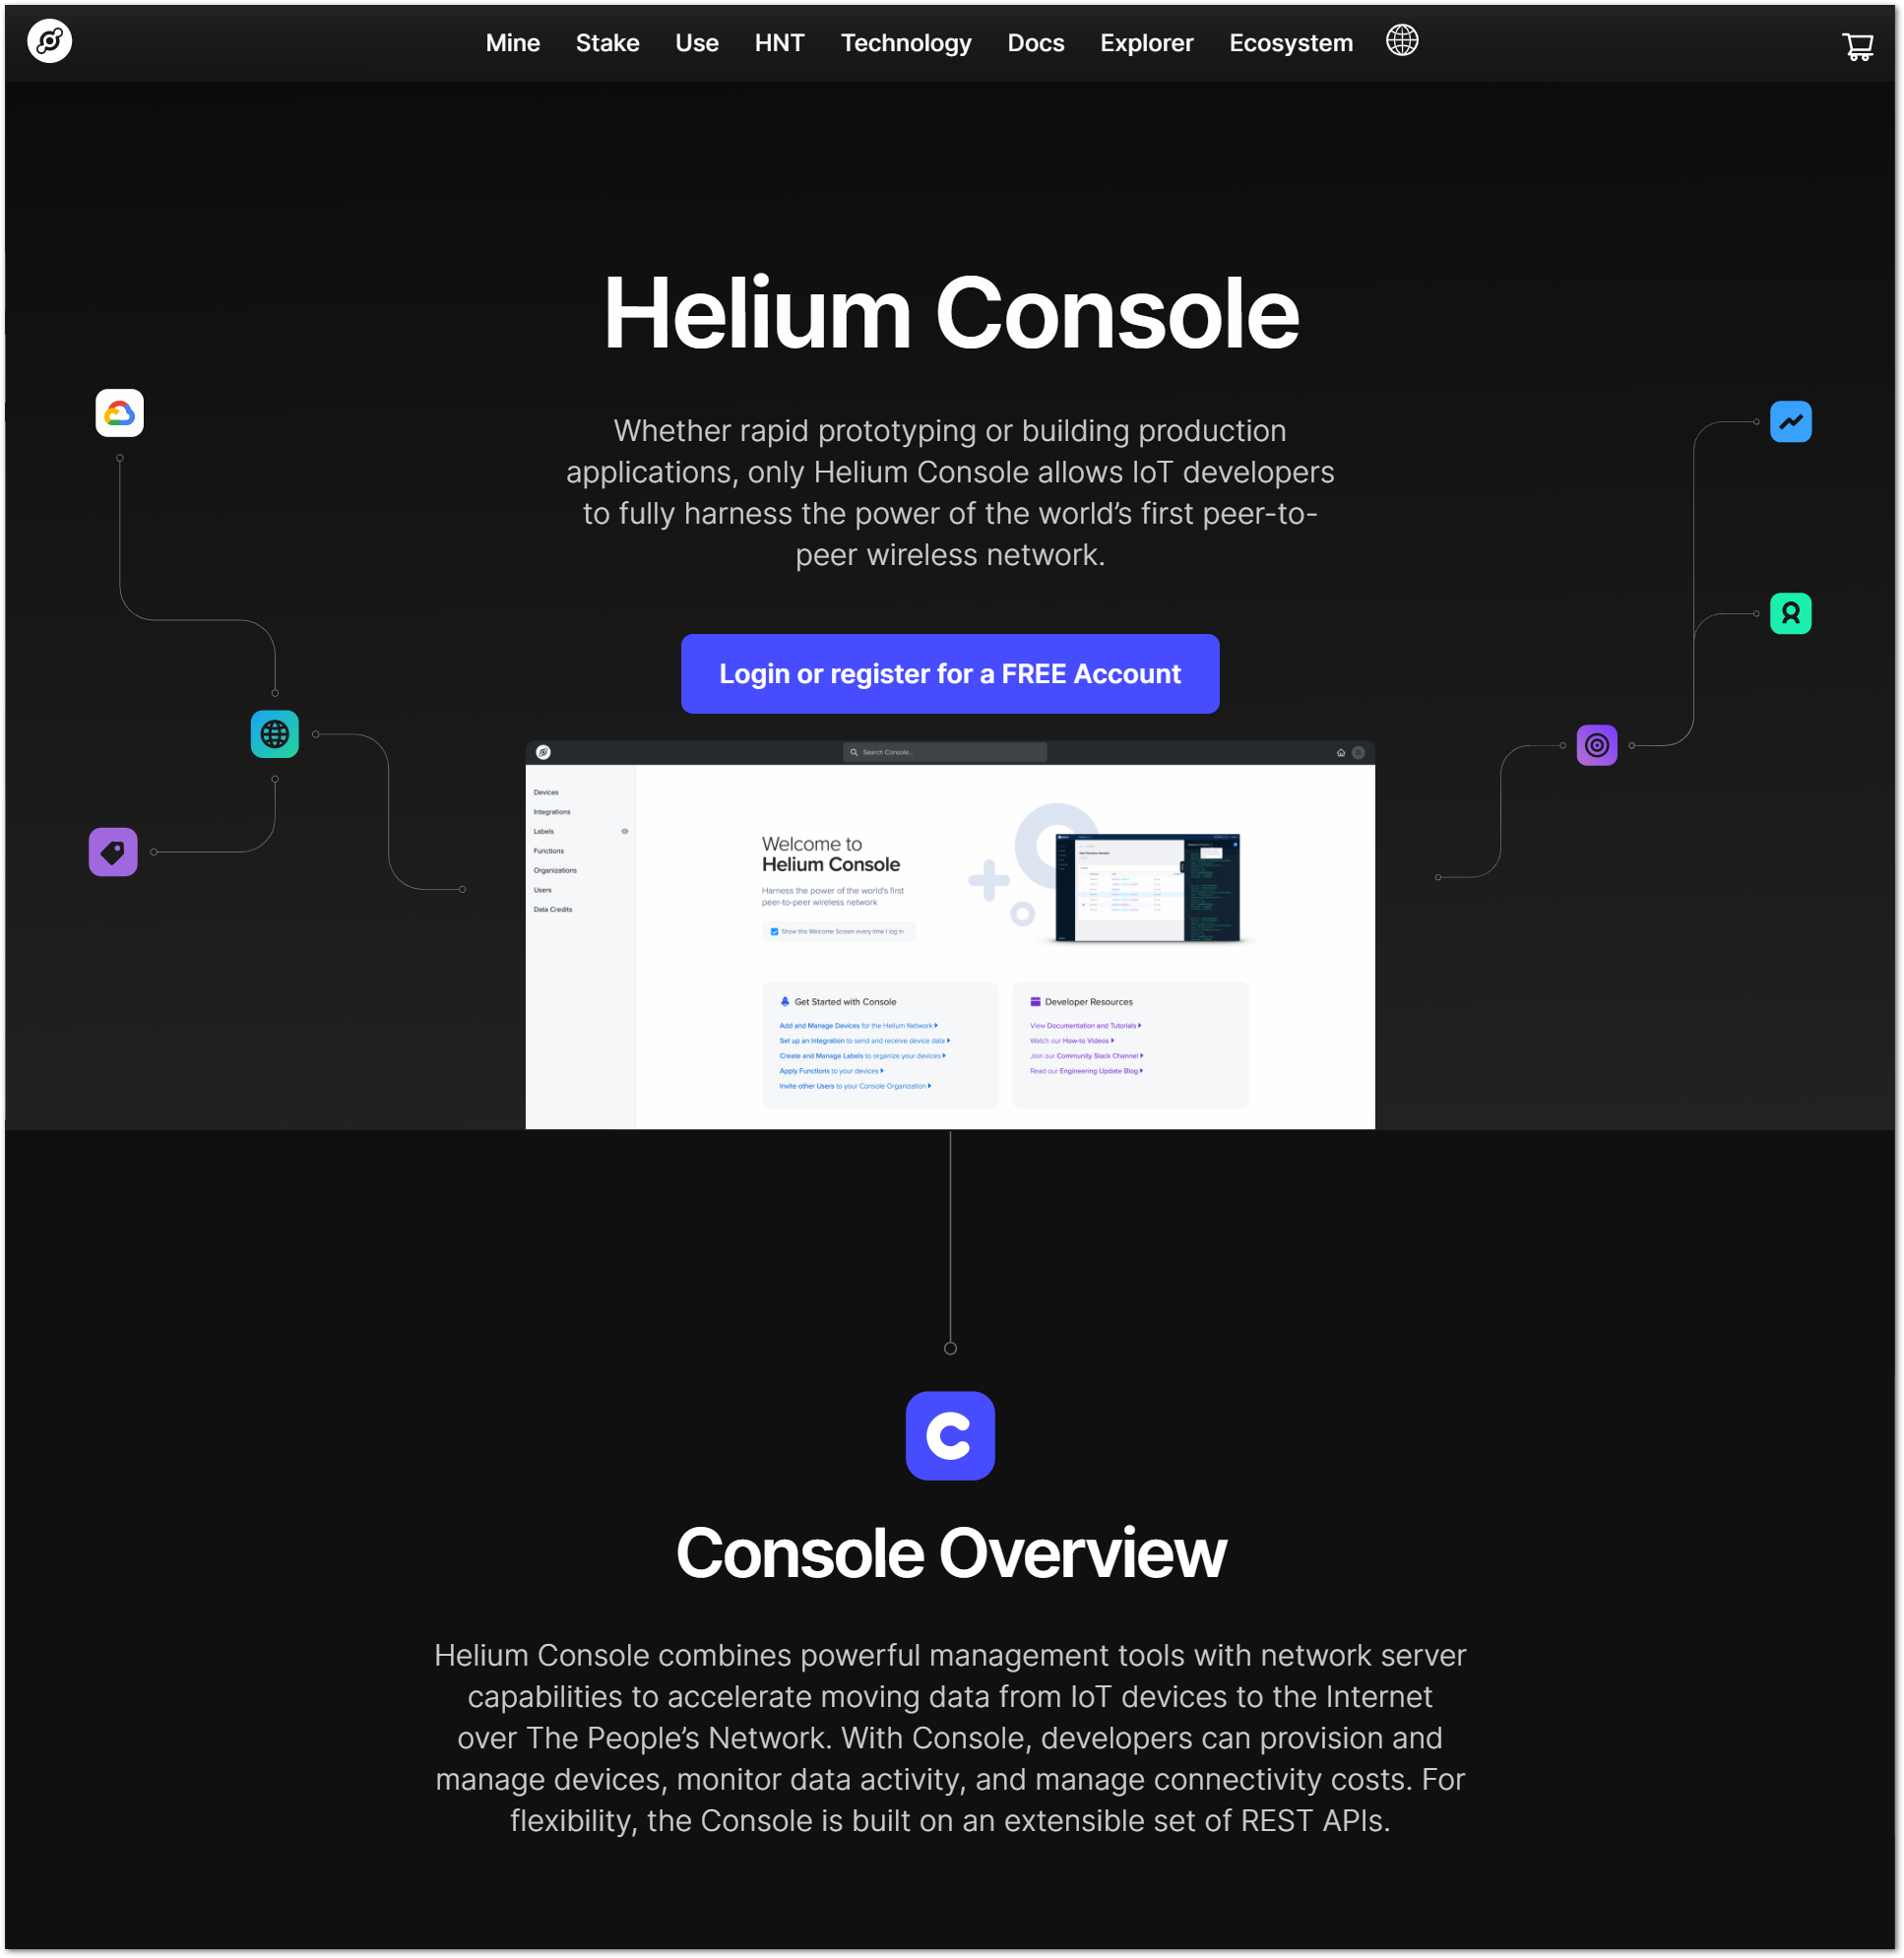
Log in or create your account here.
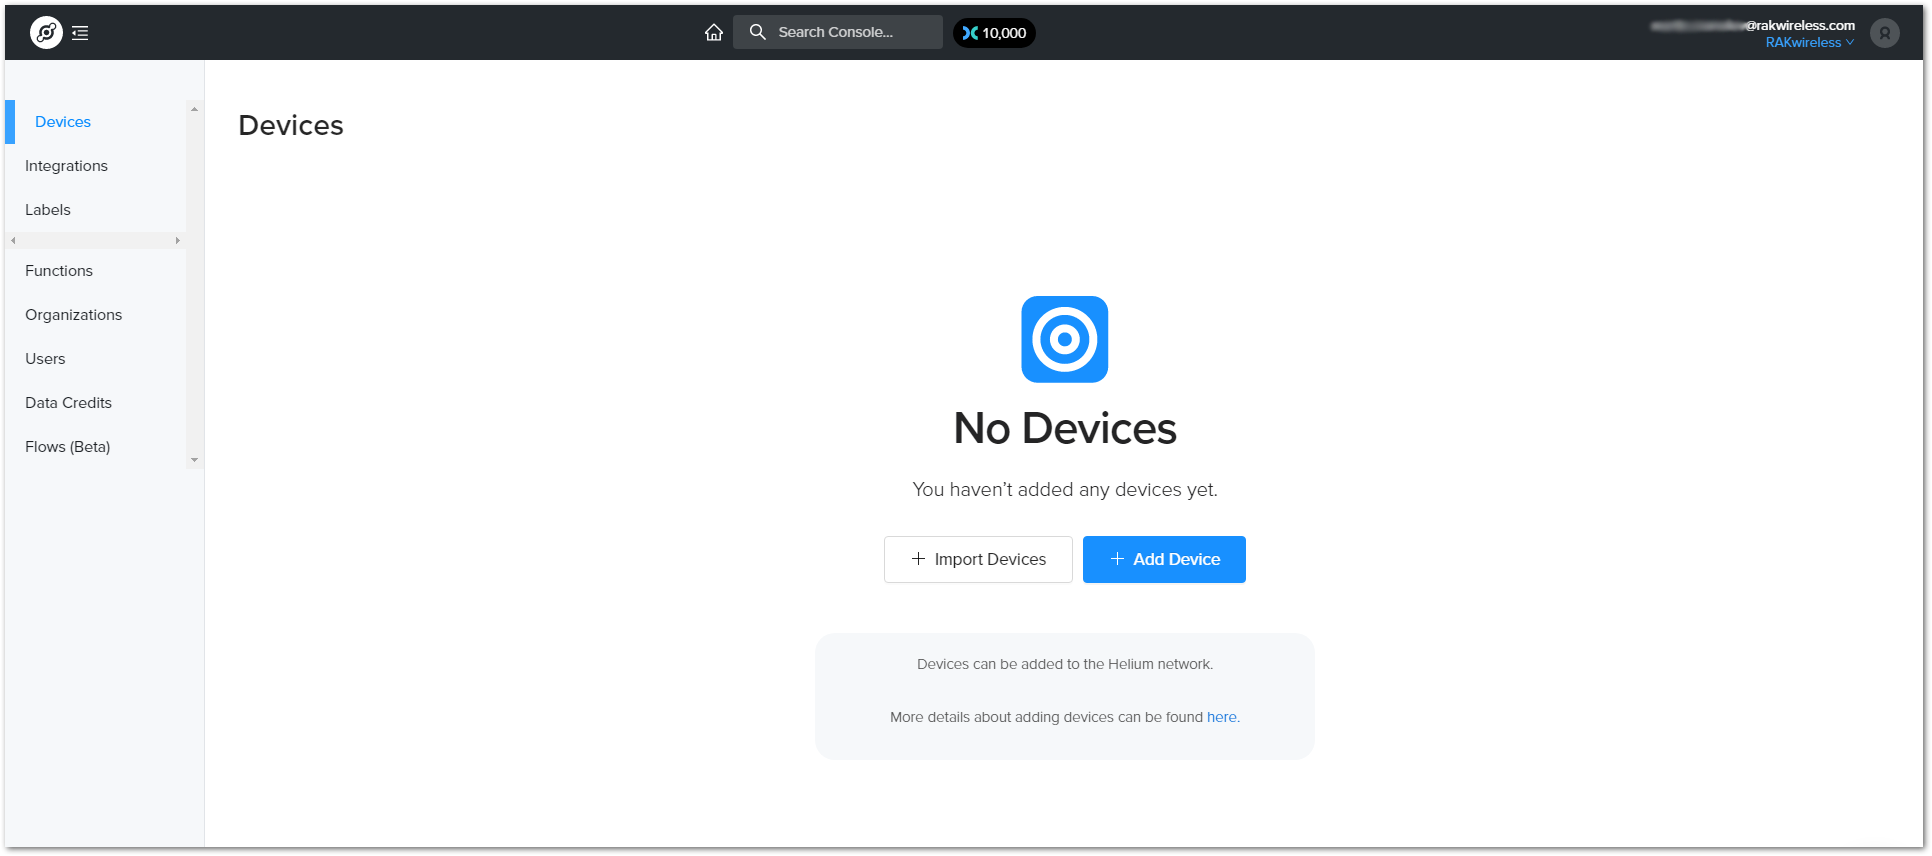
Once registered/logged in, you will end up at the home page, where you can see your function tree on the left and DC balance at the top, as well as a number of useful links.
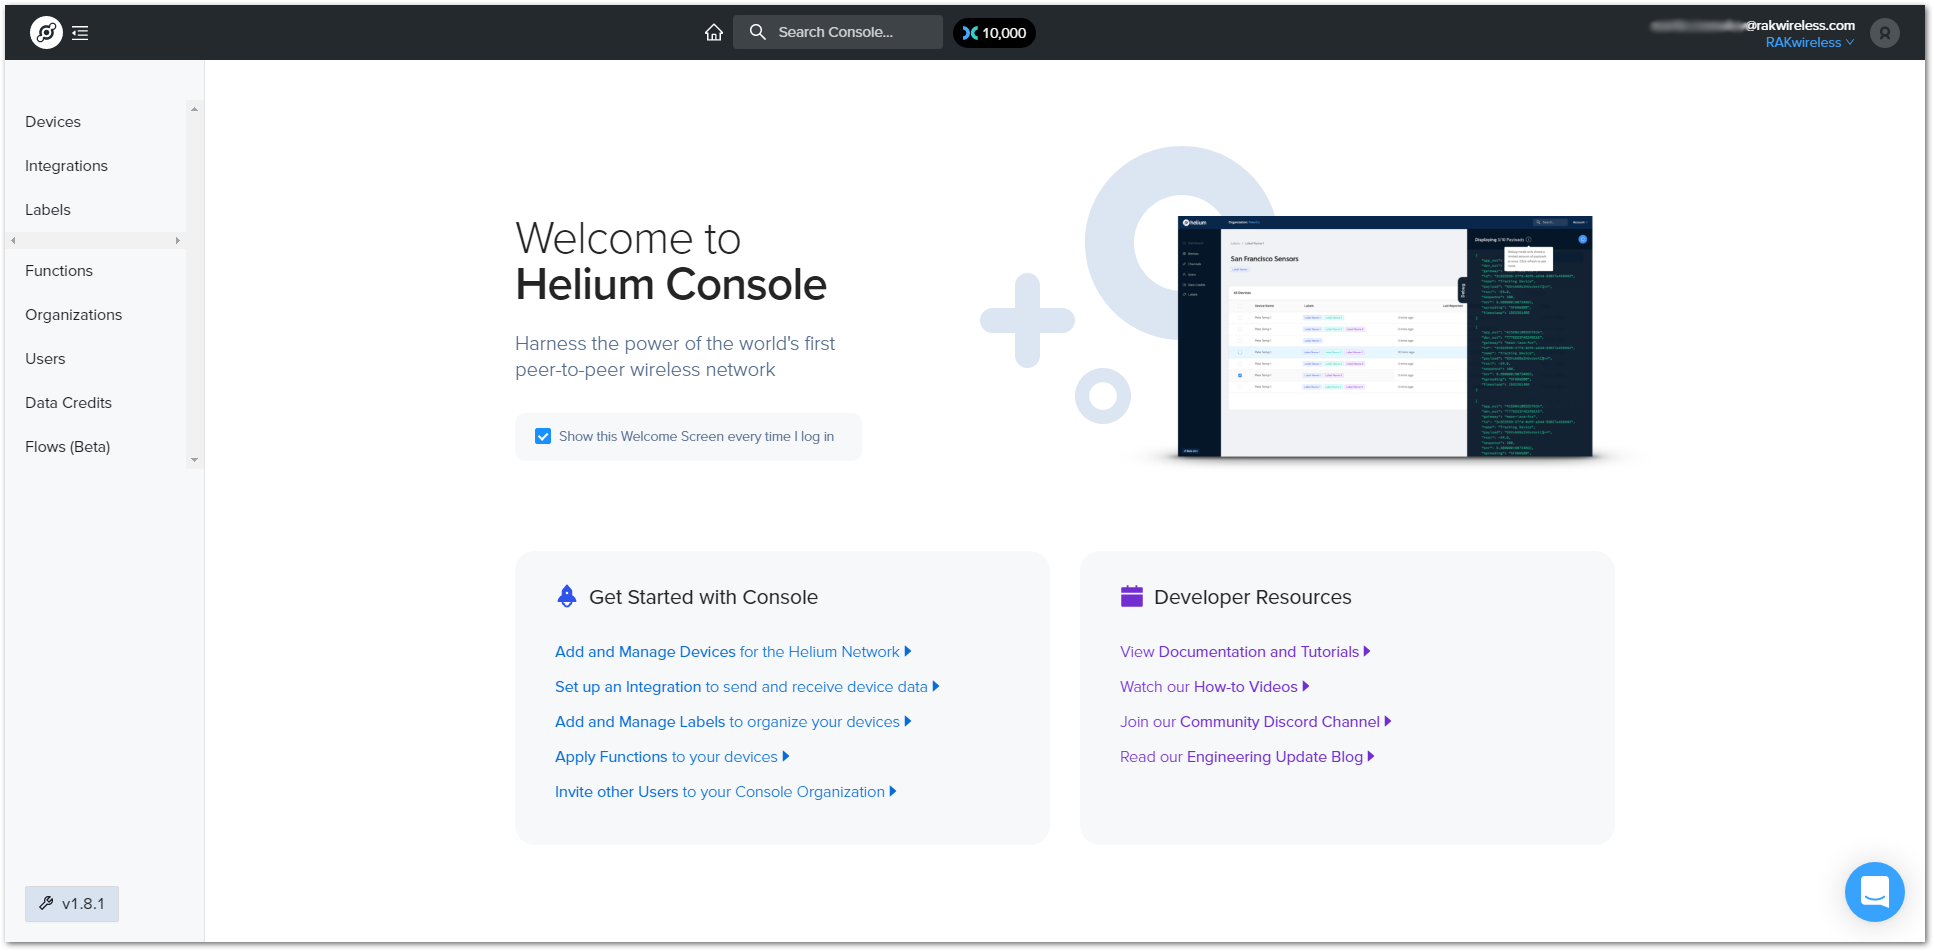
Go to the Devices section in the function tree. There will be no registered devices if this is your first time doing this. To add a device, click the + Add Device button and get started.
A window will pop up with a set of fields containing the device parameters required for its registration.
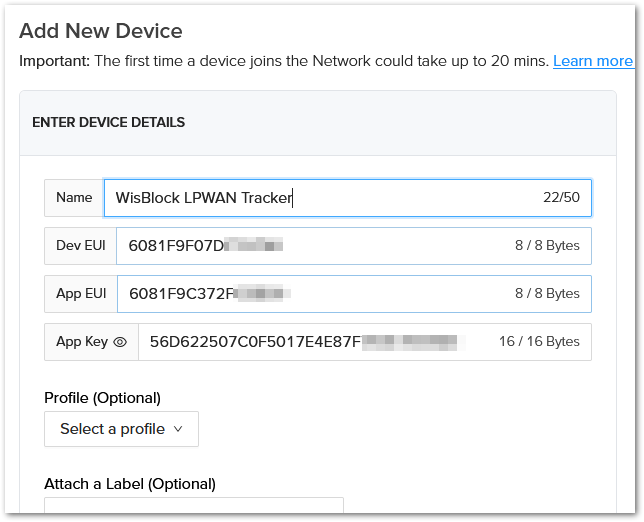
Fill in a name of your choosing. The Dev EUI, App EUI, and App Key will have random values generated for you by default. Press the eye icon to reveal the values. You can manually replace them with values of your own. For this tutorial, default values are used. Press the Submit button, and you are done.
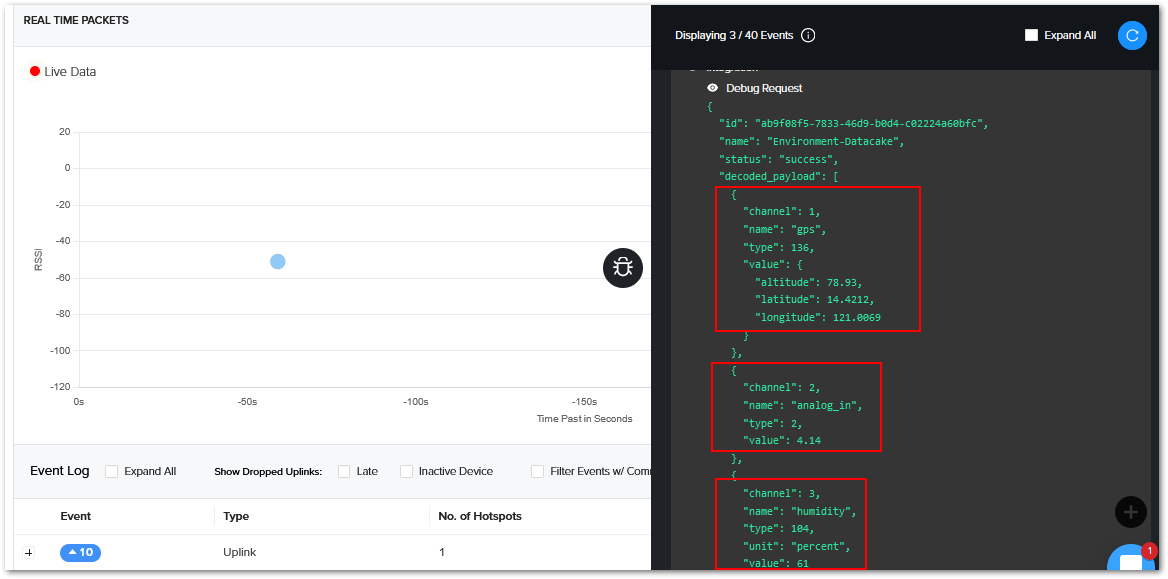
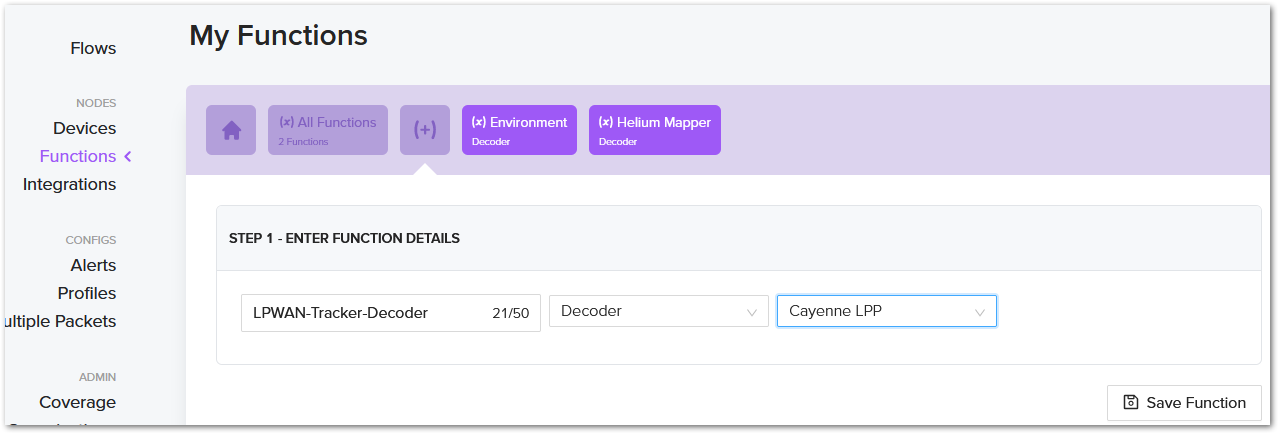
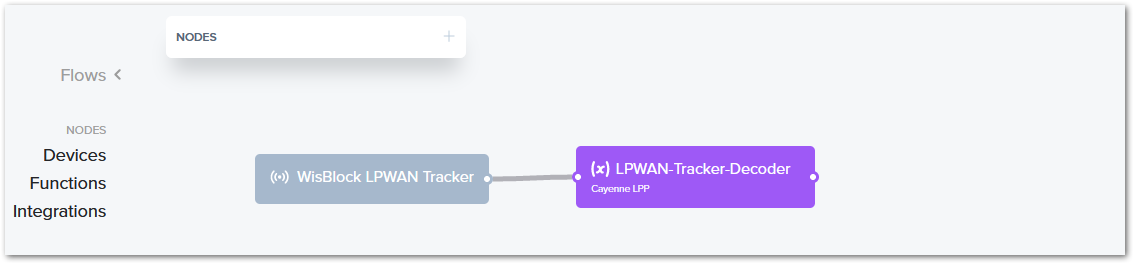
To check the decoded values in the Helium Console, you need to create a Flow that decodes the data.
- First, go to Functions in the Helium Console and create a new function. For the name, you can choose anything. The function type needs to be Decoder. For the format, choose Cayenne LPP.
- Next, go to Flows in the Helium Console and create a new flow. Connect your device to the flow that you just created.
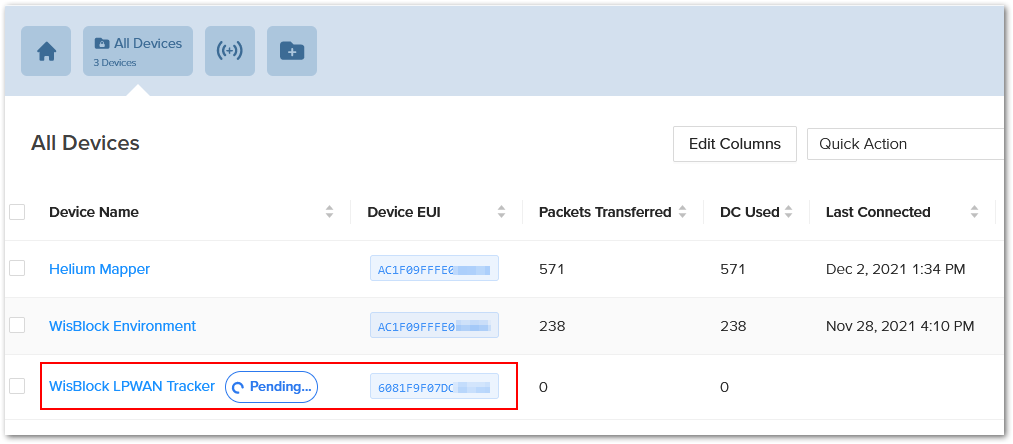
Now, your RAK10700 is registered and is awaiting activation. For this to happen, import the Dev EUI, App EUI, and App Key in the RAK10700 using the RAK Serial Port Tool.
Open the tool, select the desired port (default baud rate) and open it. Then start importing your settings.
Configure your LoRa band and activation mode. This tutorial will be using the EU868 band and OTAA (the only option available for now with Helium) with device class A (the default one does not need configuring).
info
The different regions are selected by number:
- 0: AS923
- 1: AU915
- 2: CN470
- 3: CN779
- 4: EU433
- 5: EU868
- 6: KR920
- 7: IN865
- 8: US915
- 9: AS923-2
- 10: AS923-3
- 11: AS923-4
- 12: RU864
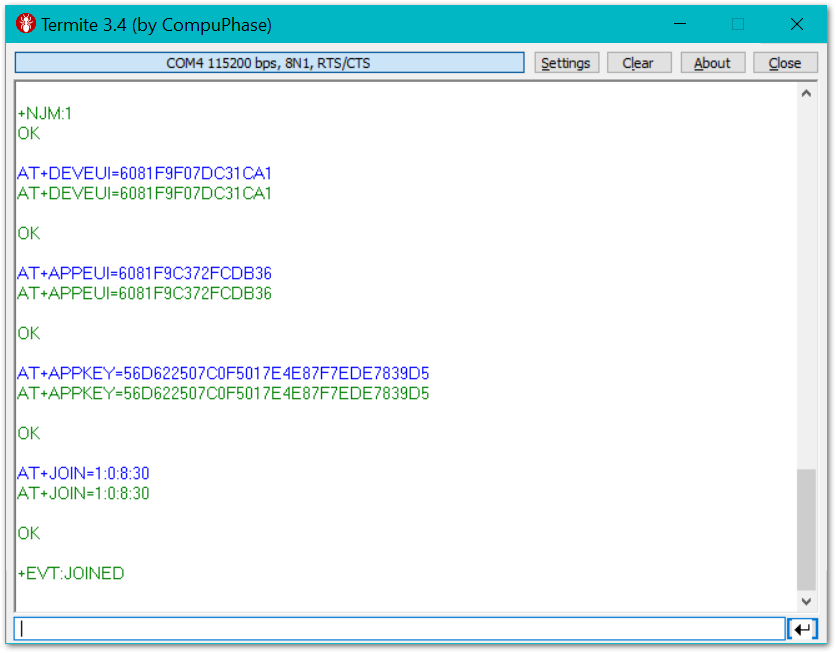
- Regional band and activation mode setting
AT+NJM=1
AT+BAND=10
- Enter the Dev UI
Use the command below by replacing the XXXX with your Device EUI from the Helium console:
AT+DEVEUI=XXXX
- Enter the App EUI
Update the APPEUI value of your LPWAN tracker by replacing the XXXX with the APPEUI value you get from the Helium Console
AT+APPEUI=XXXX
- Enter App Key
You also need to update the APPKEY by getting the 16-byte APPKEY from the Helium Console:
AT+APPKEY=XXXX
- Join Network
Finish executing the join command for the node to initiate the join procedure.
AT+JOIN=1:0:8:30
Once the procedure is initiated and completed, you will have a notification in the serial console.
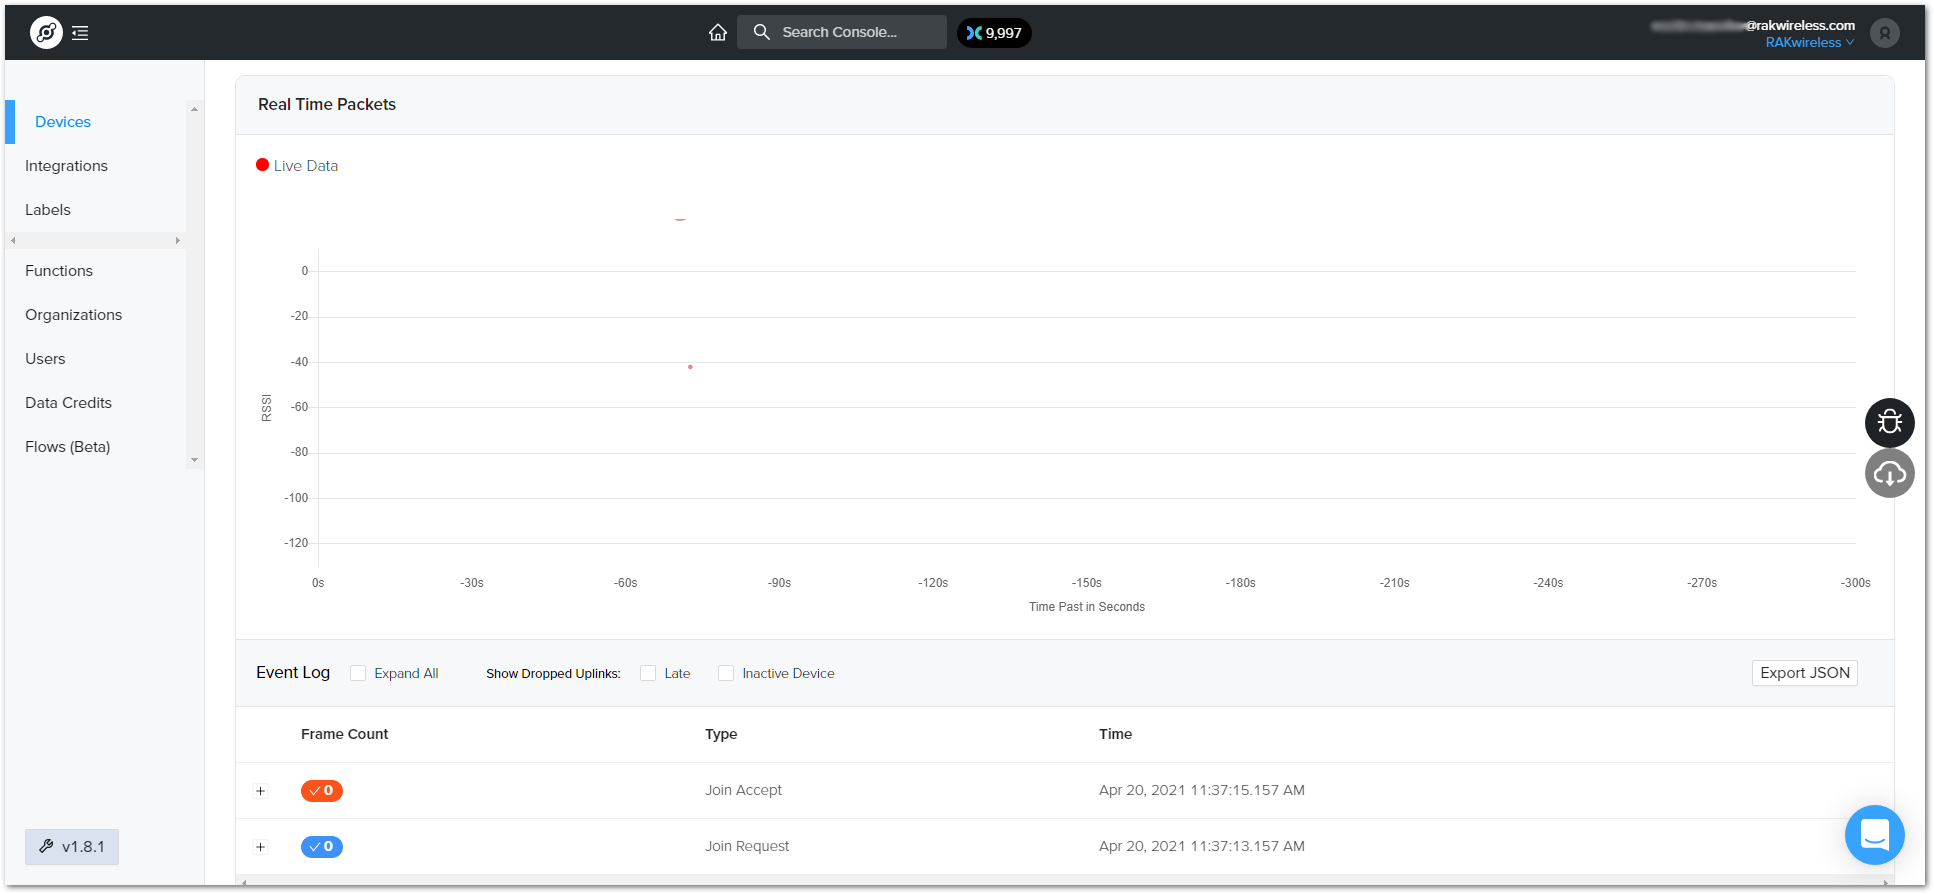
If you take a look at the Helium console, you will also see the join request packets both in the graph and event log. Your node is now a part of the Helium Network.
If your GNSS Tracker can get a location fix, you can see the live data in the Helium Console Debug window.