Console Quickstart
Objective
This Console quickstart guide will cover how to:
- Register an account on Helium Console
- Add a device to Helium Console and record device details
info
The cost per packet is $0.00001 USD (24 byte packets) which is equivalent to 1 Data Credit (DC). For more information please go here.
Create an account
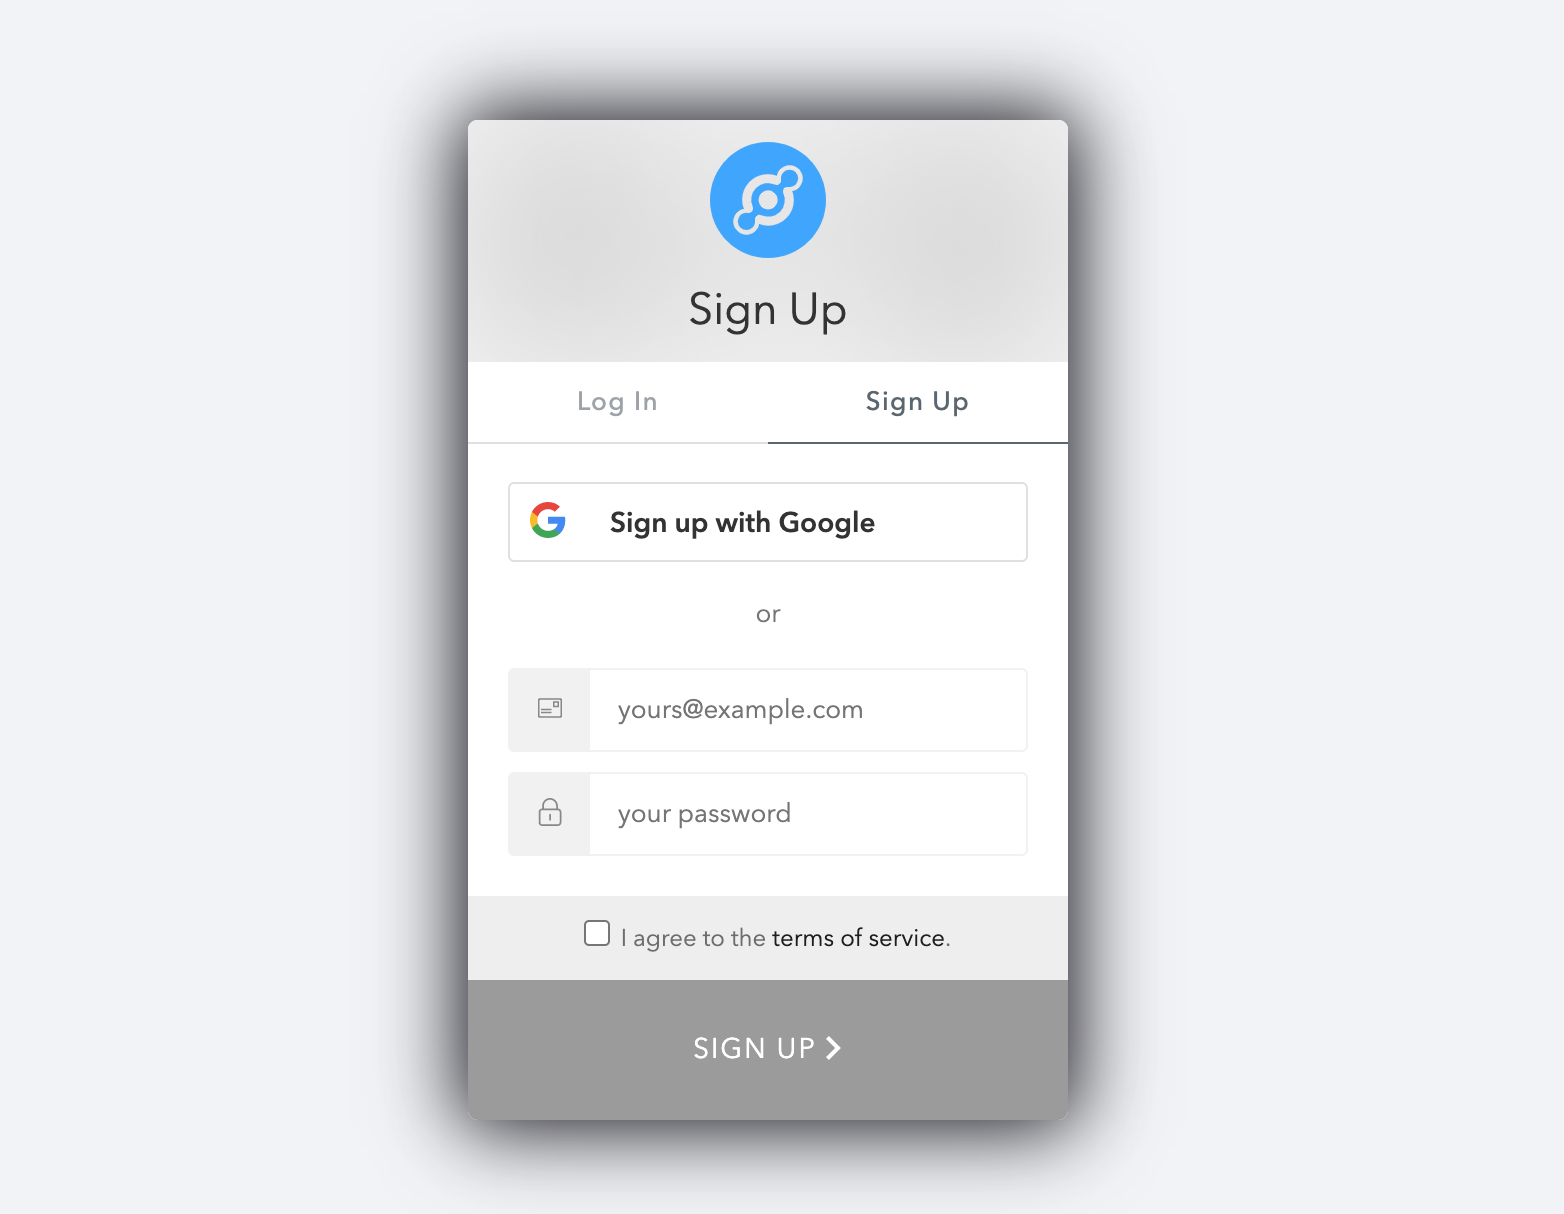
To register for an account, visit Helium Console and click Sign Up.
During registration, you'll be asked to provide an Organization name. For more information about Organizations go here.
Define an Organization name for the top level owner of the account (i.e. company name).

Confirm your account
A confirmation email will be sent to the email address used to create an account. You must confirm the account in order to continue using Console. If you did not receive an email, please check your spam folders.
Device Management
Helium Console allows developers to add devices and grab the device identifiers to load onto their device firmware that authenticates and identifies the device for the Helium Network.
Add a Device
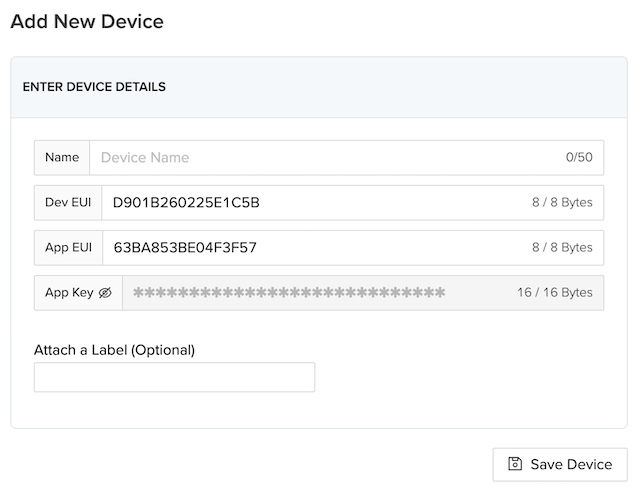
To add a device, go to Devices and click the + Add Device icon on the top right of the window.
When prompted, enter a name for your device. Device names do not have to be unique (as every device
will be given a unique identifier generated by Console). DevEUI, AppEUI, and AppKey are auto
generated by the Helium Console when you create a new device. However, you can input your own
DevEUI, AppEUI, and AppKey if your device is already provisioned with these credentials.
important
Helium Console users are capped at ONE (1) Organization and 10 devices for their account.
If your account as of March 31, 2022 exceeds this cap, you can continue using Helium Console with those existing devices and Orgs for 12 calendar months, but will not be able to add additional devices and Orgs.
To continue with more than 1 Org / 10 devices after 12 months, you will need to work with a member of the ecosystem, host your own instance, or contact a team members at sales@nova-labs.com.
*While an account is in an overage state with > 1 Org / 10 devices and a device or Org is deleted, additional devices or Orgs cannot be re-added.
Users over the cap who would like to immediately add more devices/Organizations, or users who have not yet exceeded the cap but plan to do so, can reach out to members of the ecosystem, host their own instance, or contact sales@nova-labs.com.

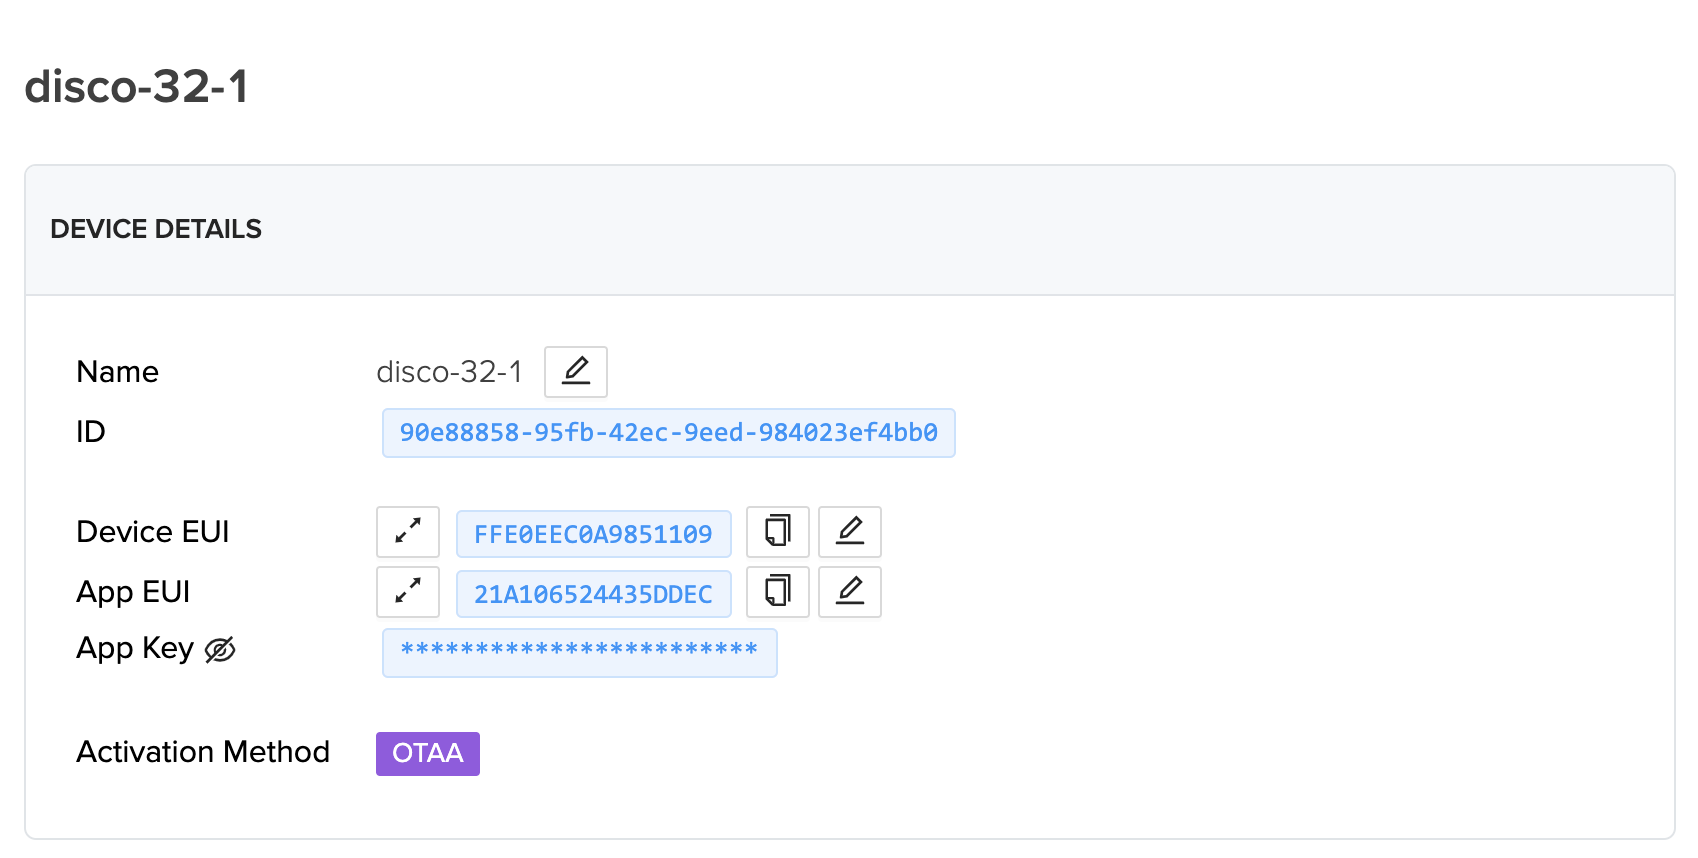
Once added, you'll see a consolidated view of all your device details, as well as the Activation
Method (only OTAA is currently supported) and the LoRaWAN US Channels used by the Helium Network
(which will always be sub-band 2).

Live Data and Event Logs
When a valid data packet is received from that device, a dot will appear from the left side of the chart and flow towards the right as time goes on.
Blue dots represent packets that have been successfully sent to endpoints, while orange dots have failed to reach an endpoint, and red dots do not have a defined endpoint.
The size of the dot is related to the size of the packet. Larger sized packets will be a larger dot, and small data packets will be a smaller dot.
Event Log
Event Logs display real-time packets in table form. There's different categories including Uplinks, Downlinks, Join Request/Accept, Acknowledge. Here you can see size of packet, Port, and Devaddr. In addition, which Hotspot(s) received the packet, its RSSI, SNR, Frequency, Spreading Factor and time of receipt. As well as Integration success or failure messages.
The Event Log also provides a filter to display dropped uplinks, and allows users to filter events w/commands.
The information in the Event Log can also exported as a JSON file.
Connecting Integrations to Devices
Devices or groups of devices can be directly connected to integrations.
To connect one or more devices to one or more integrations, simply define an integration and attach a device to it on the Flows workspace. Integrations need to be created before they're available. You can use Labels to group devices together for easy identification and management read more on labels here.
Next Steps
Now that you have learned how to add a device on Console it's time to get an actual device connected. We have several quickstart guides for some of the most popular development and ready to use devices here.